Build your first page
Create a page, add sections and widgets, style them and publish, step by step.
On this page
In this tutorial you build a simple page from scratch: a section with a heading, a paragraph and a button, styled with your Design System, checked on a phone and published. It takes about ten minutes, and you will use the tools you need for every page after it.
Shortcuts are shown for Windows. On a Mac, use ⌘ instead of Ctrl.
1. Create the page
Start a new page
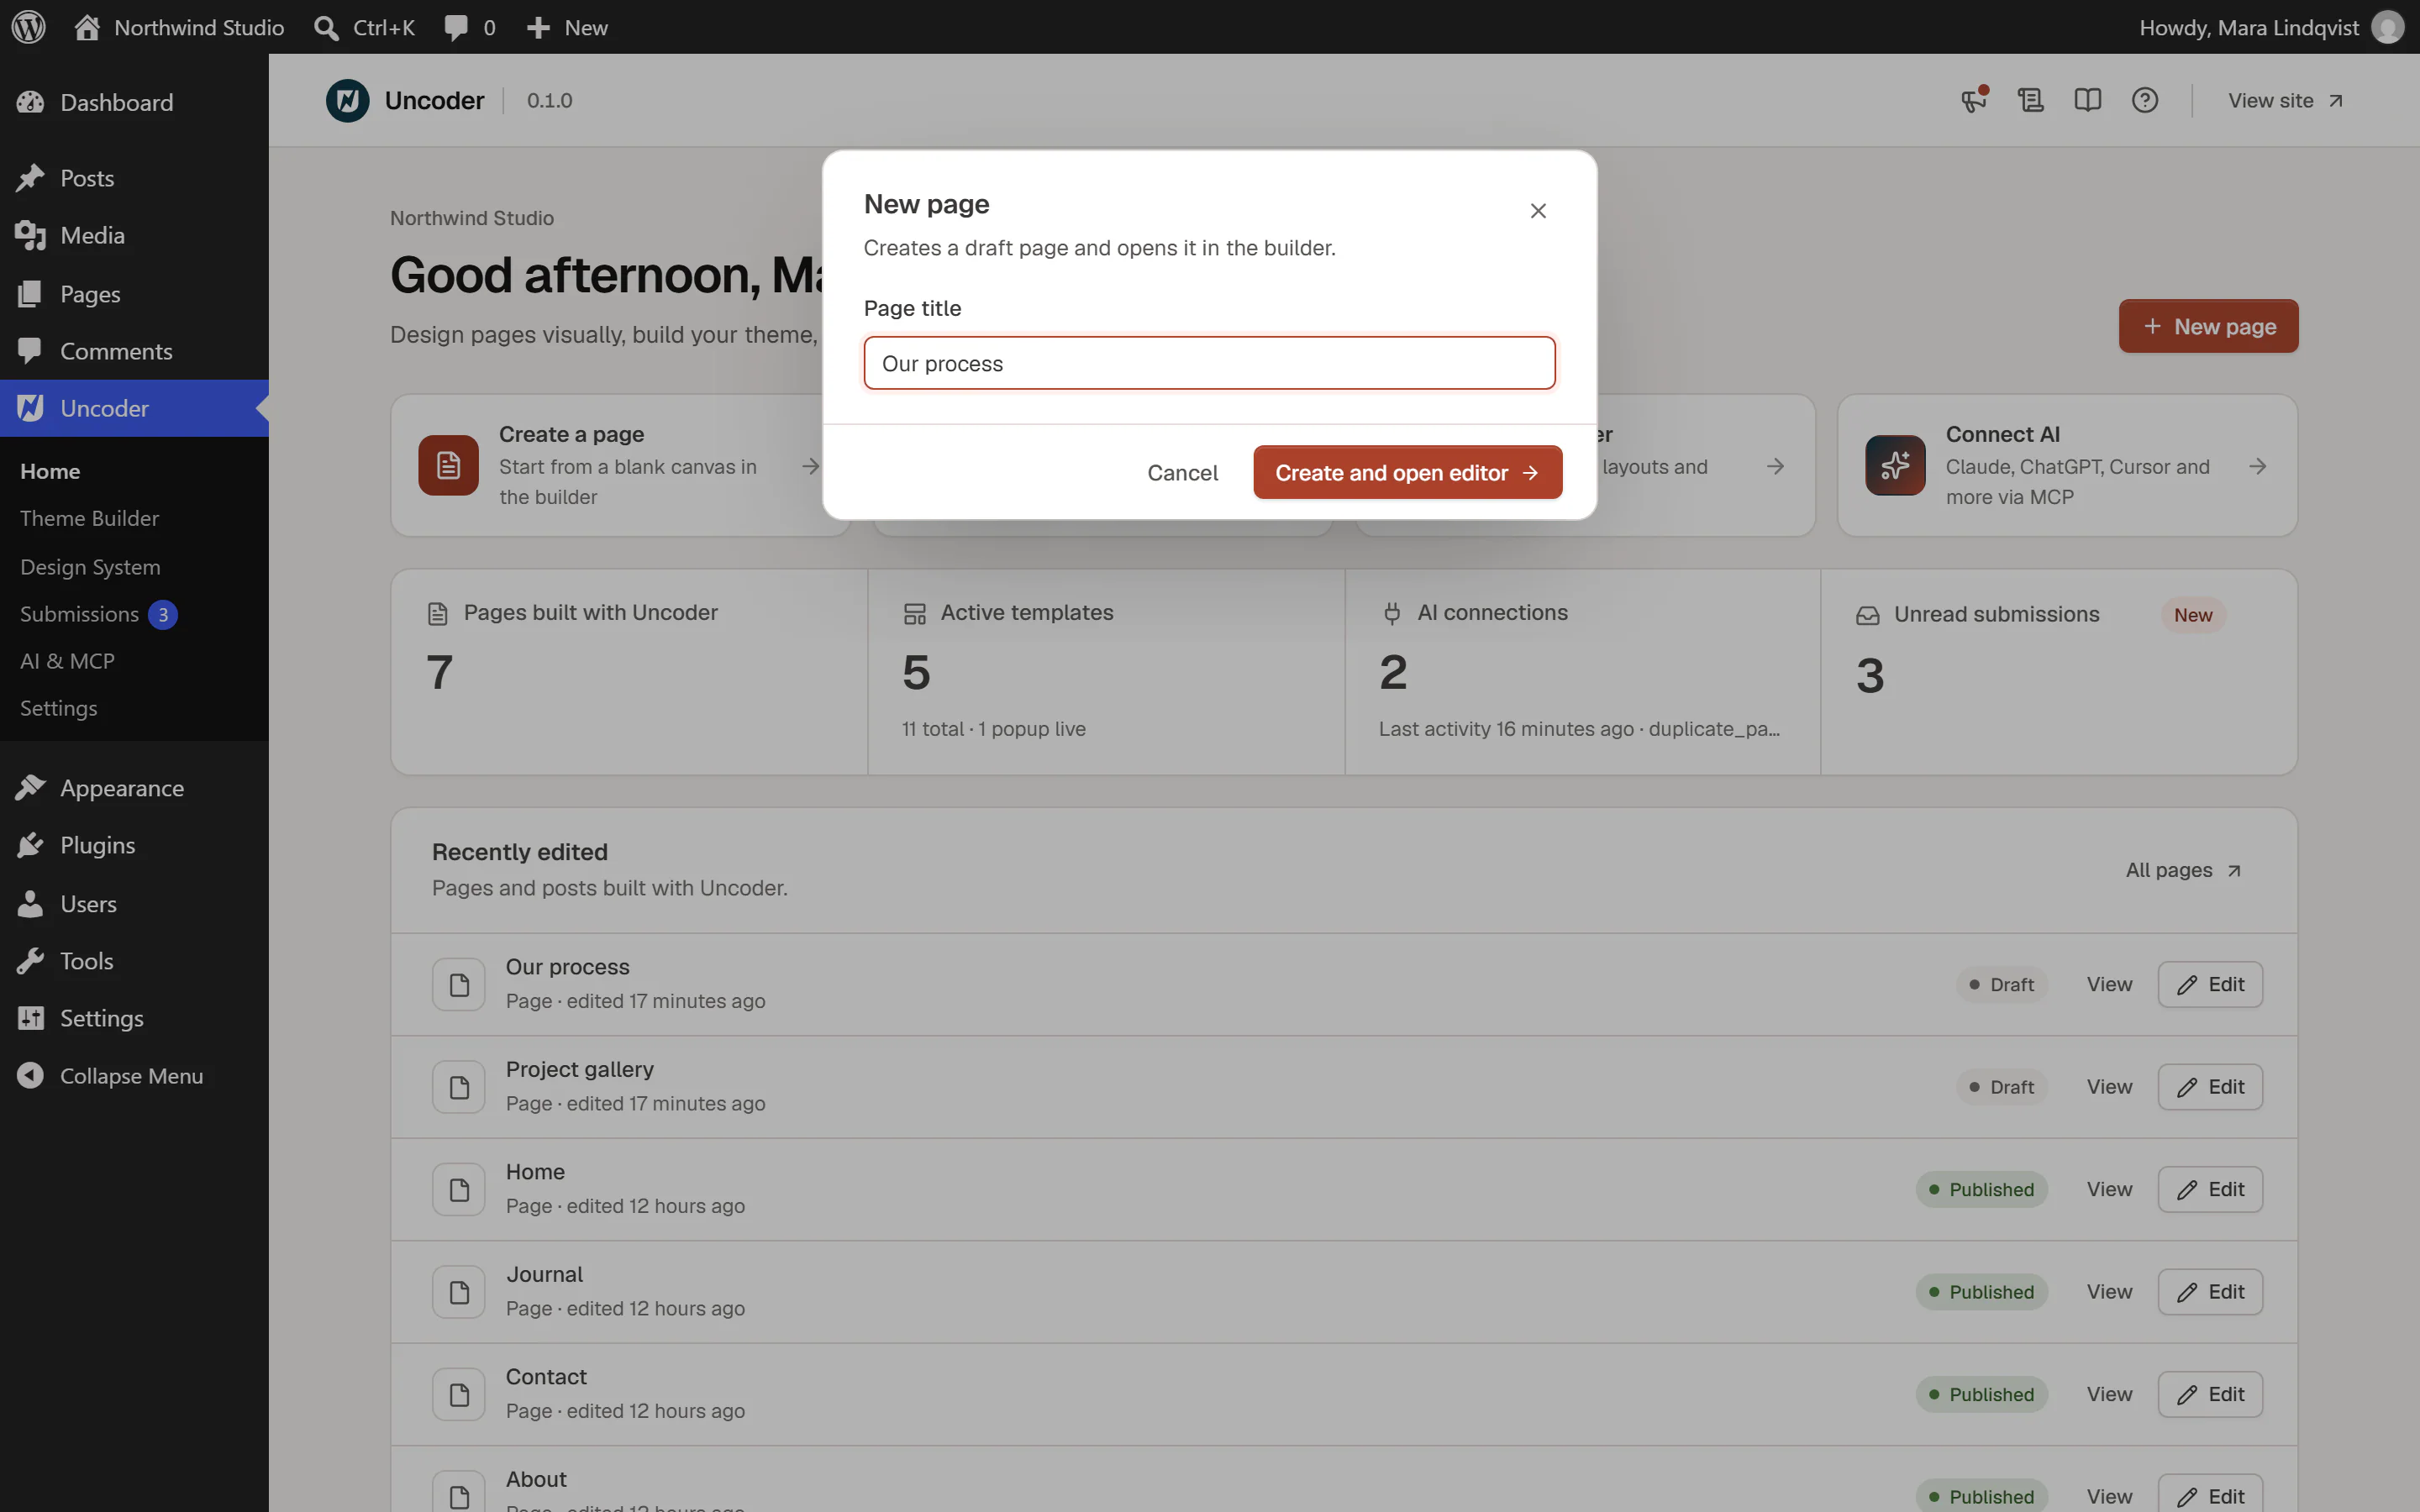
Go to Urmi → Home and click New page.
Name it
Type a Page title, for example Our process, and click Create and open editor. The page is created as a draft, so nothing is visible on your site yet.
You can also open any existing page with Edit with Urmi in the Pages list.
2. Add a section
The editor opens with an empty canvas and the Insert panel on the left. The canvas shows Start with a layout.
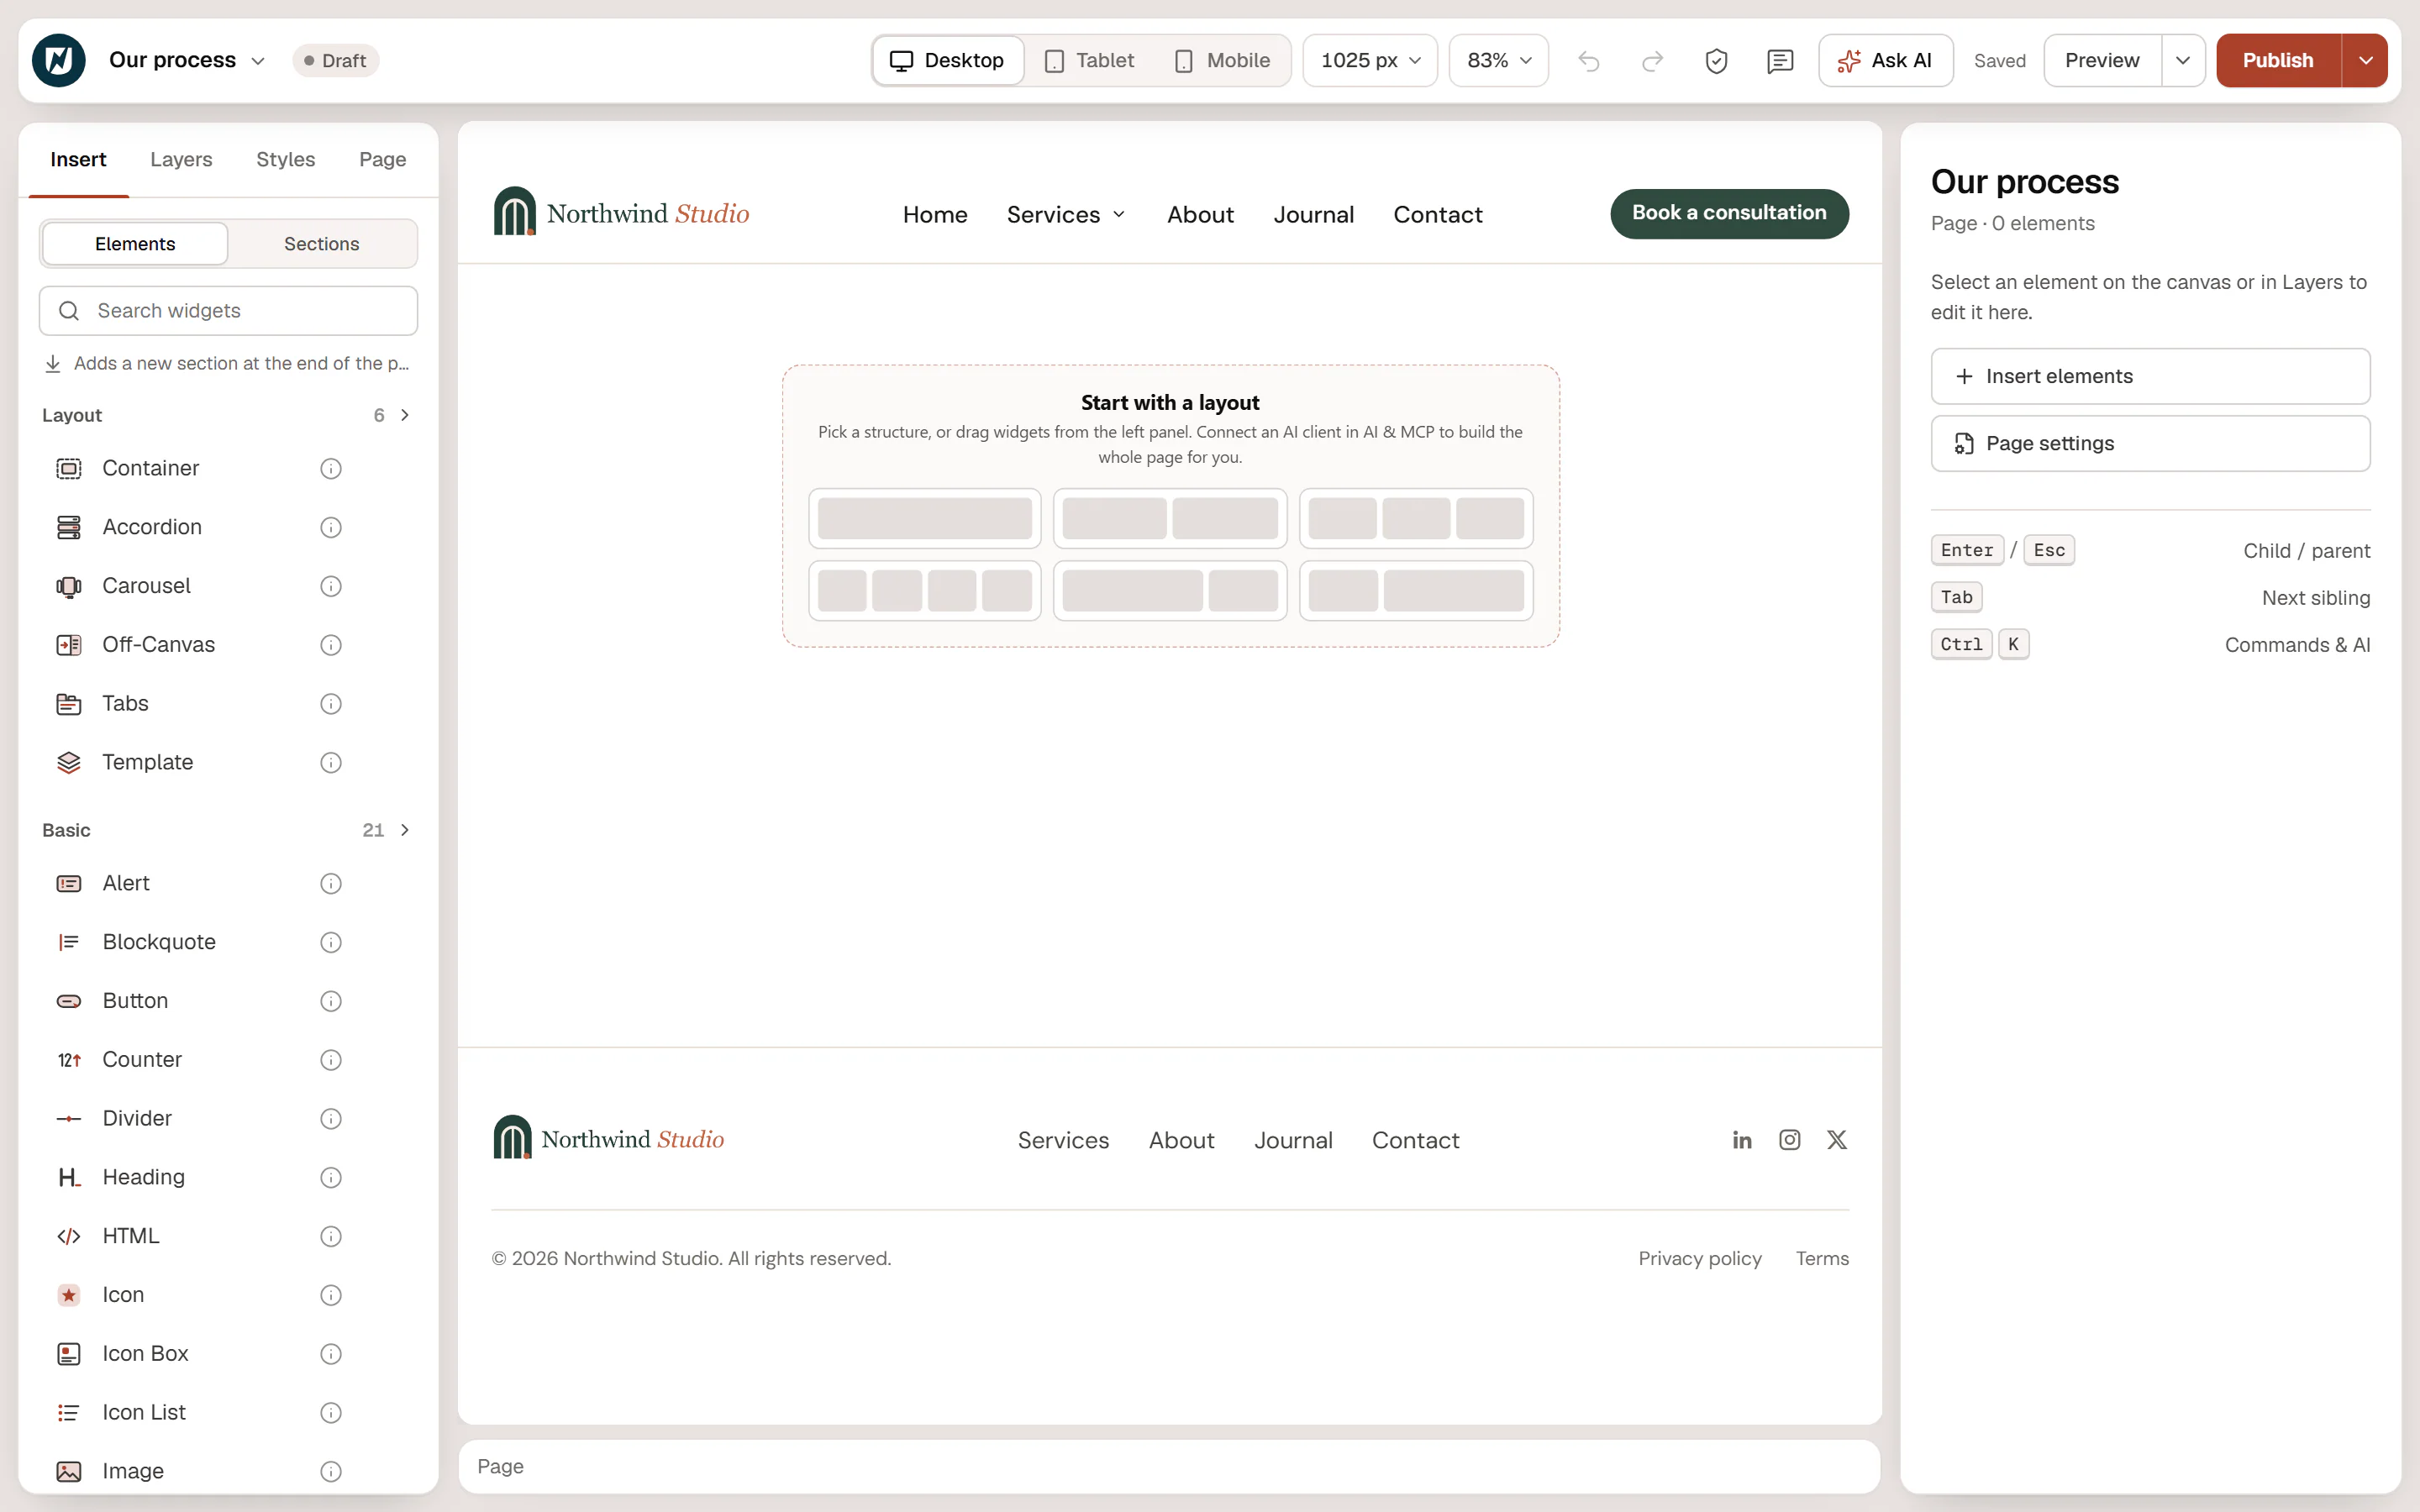
Click One column (the first layout). A new section appears on the page with an empty column, and the Insert panel shows where the next widget will go: Adds inside Container.
A section is a container, and so is each column inside it. Containers hold the layout; widgets are the content. See Key concepts.
3. Add a heading, text and a button
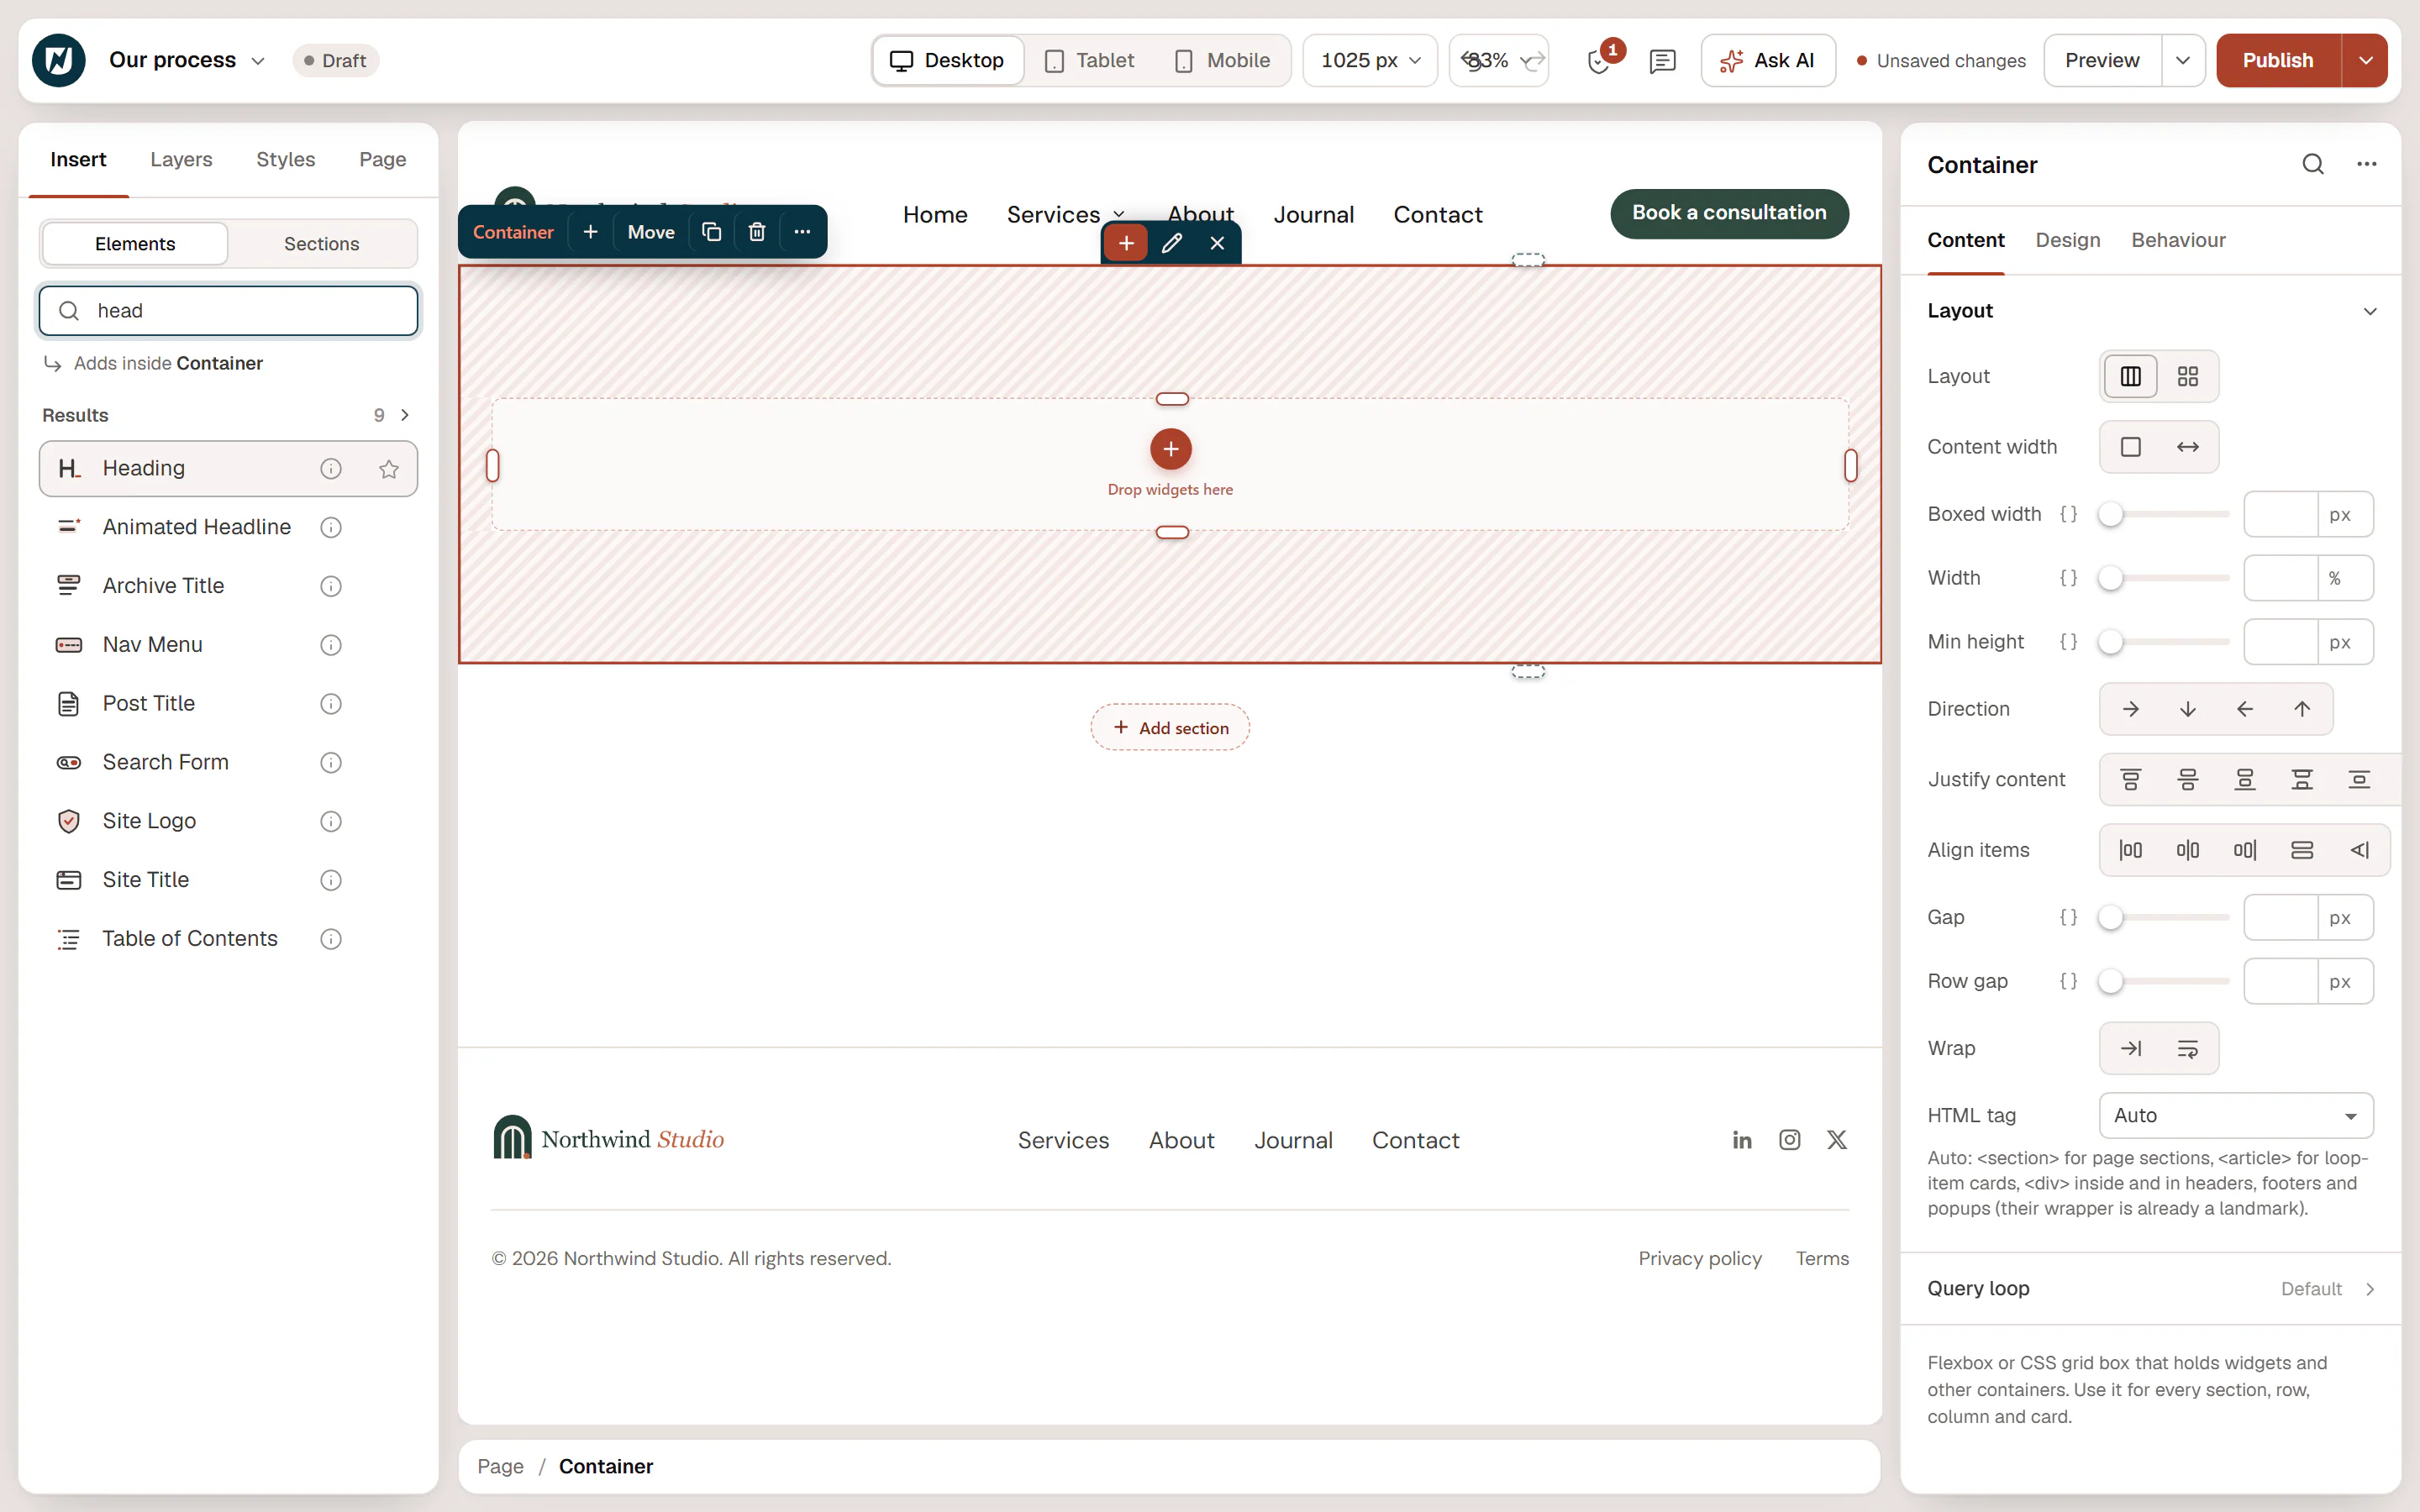
Find the Heading widget
In the Insert panel, type
headin Search widgets.Add it
Click Heading. It is added inside the selected container, and it is selected so you can edit it.
Add the rest
Search for and click Text, then Button. Each new widget goes after the one you selected, so they stack in order.
You can also drag widgets from the panel onto the canvas; a line shows where they will land. See Adding elements.
4. Write your content
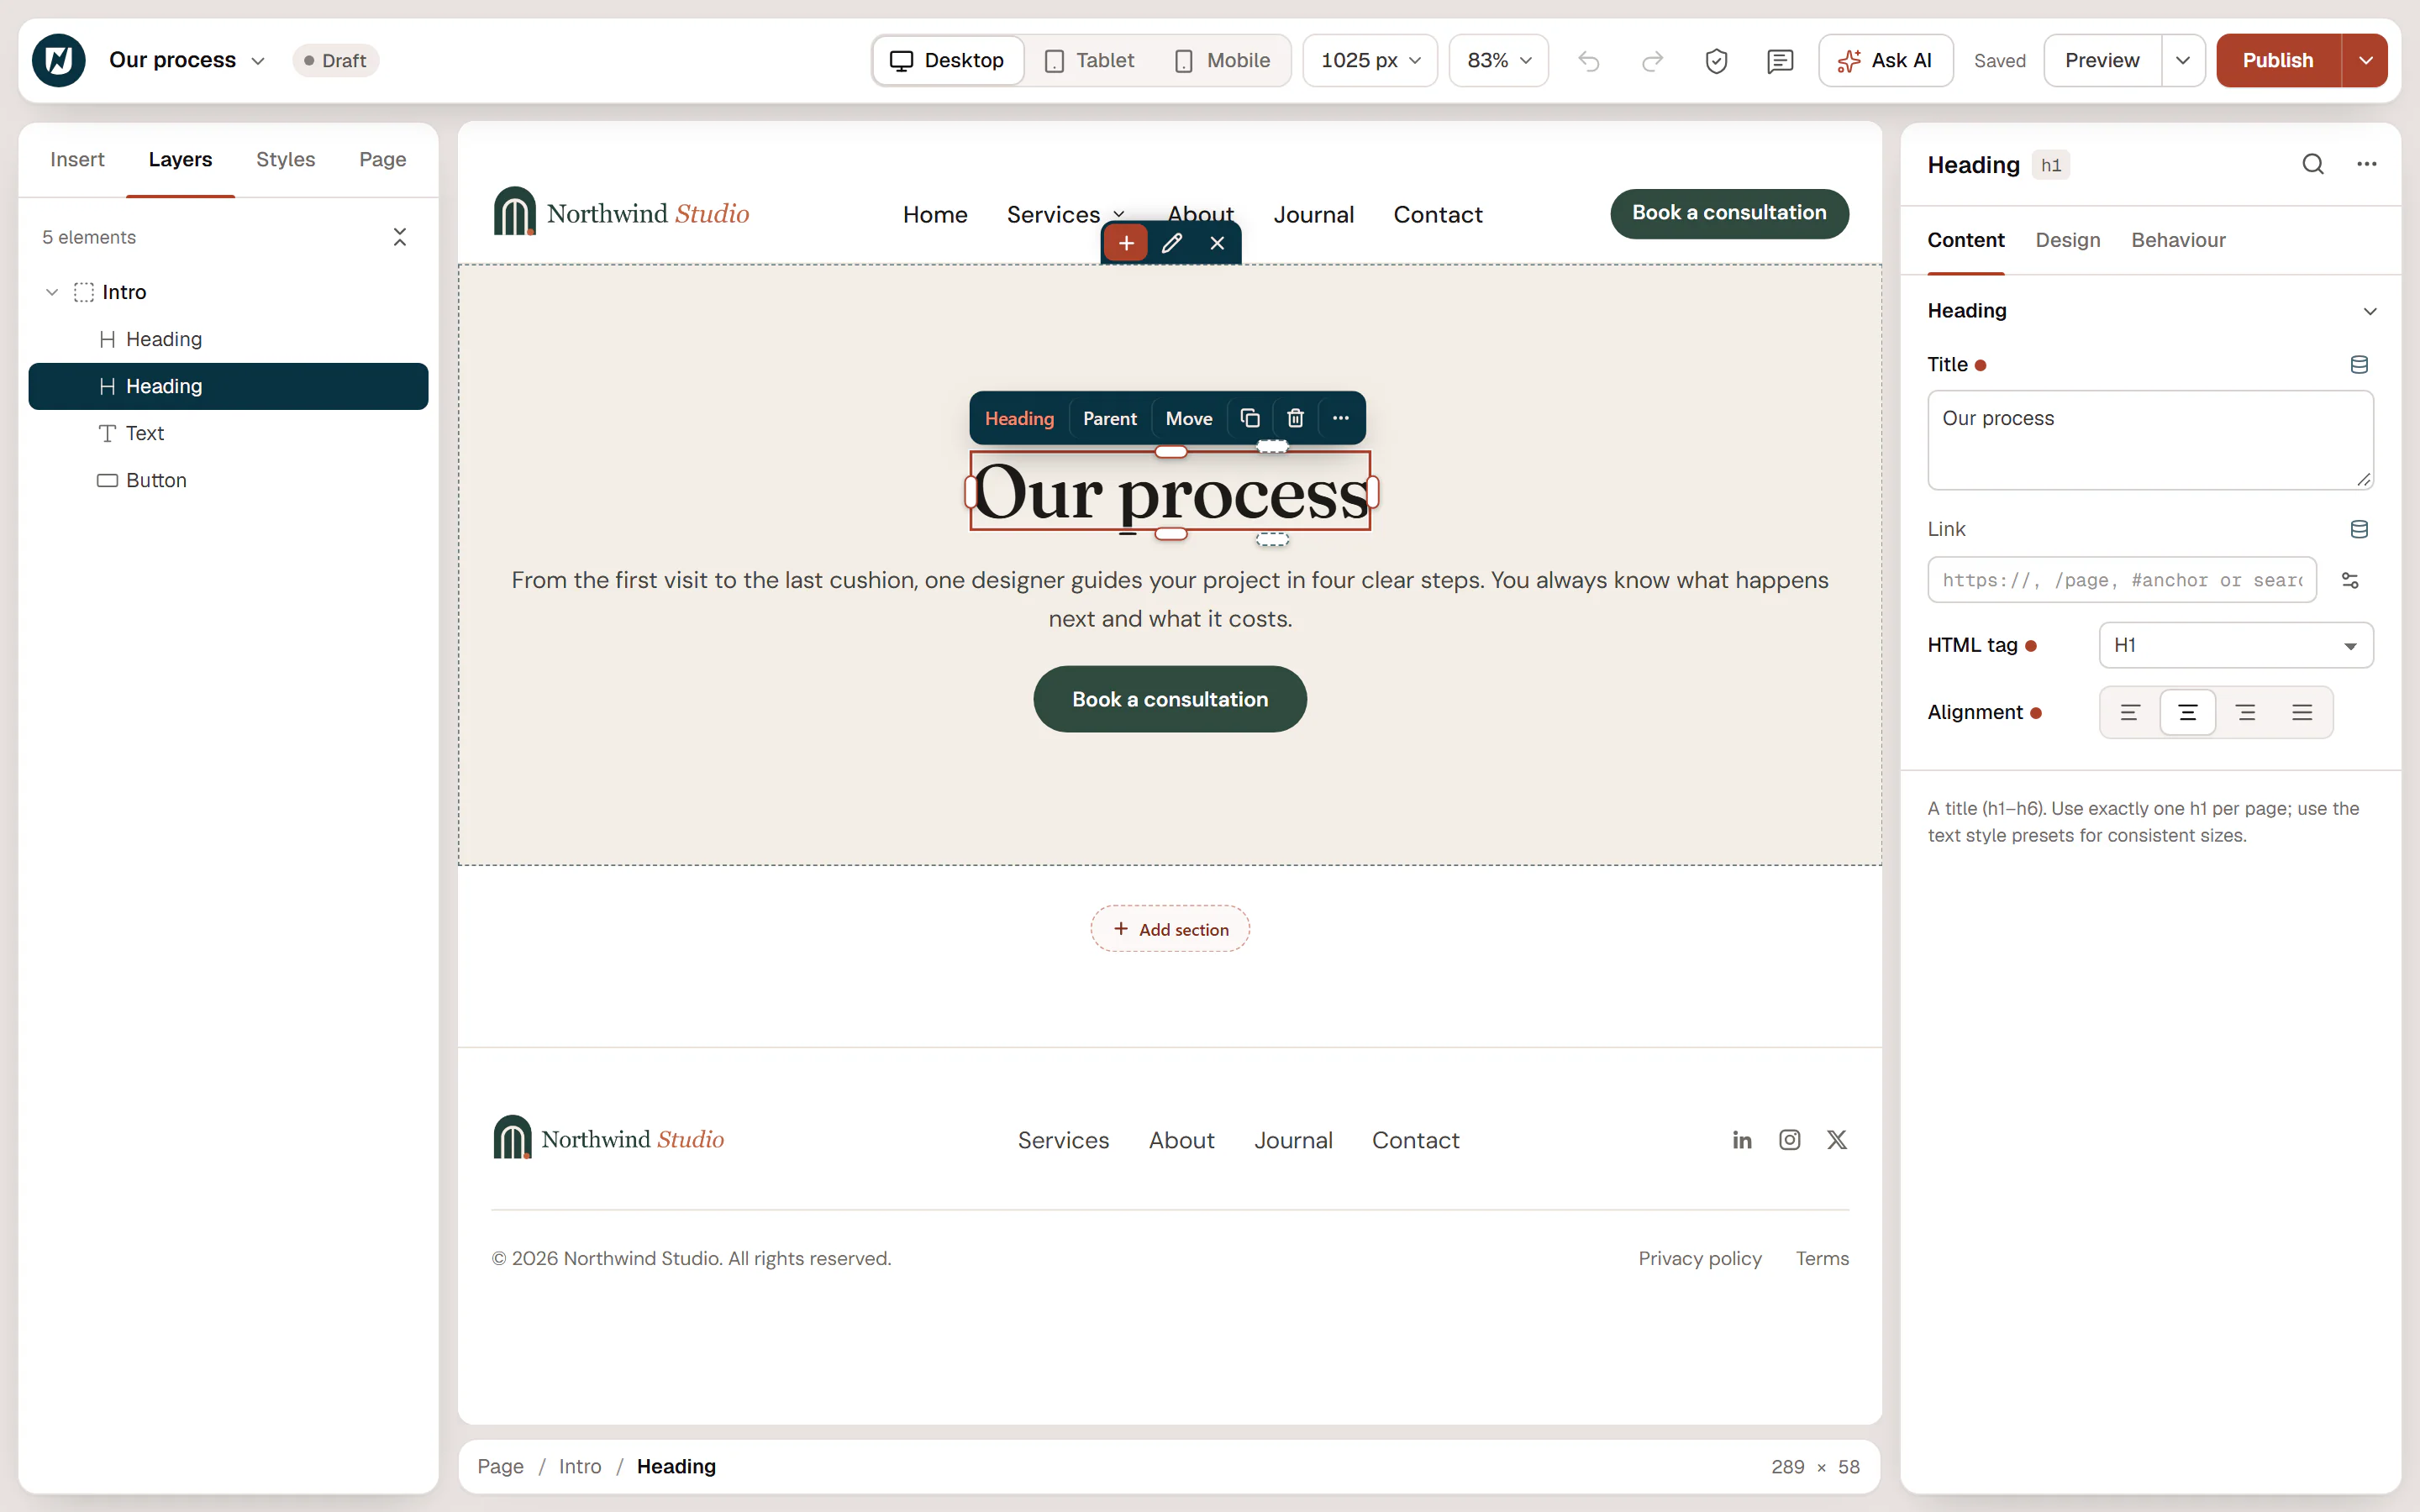
- On the canvas: double-click the heading and type Our process. Click outside it when you are done. This works for texts and button labels too.
- In the inspector: select an element and type in its Content tab, for example the heading's Title.
For the heading, also set HTML tag to H1: every page should have exactly one h1, its main title. Then write a short paragraph in the text, and for the button:
- Select the button.
- Change Text to Book a consultation.
- In Link, start typing the name of a page, for example Contact, and pick it from the suggestions.
5. Style it
Your page already uses the fonts, colors and button style of your Design System. Adjust a few things:
Center the content
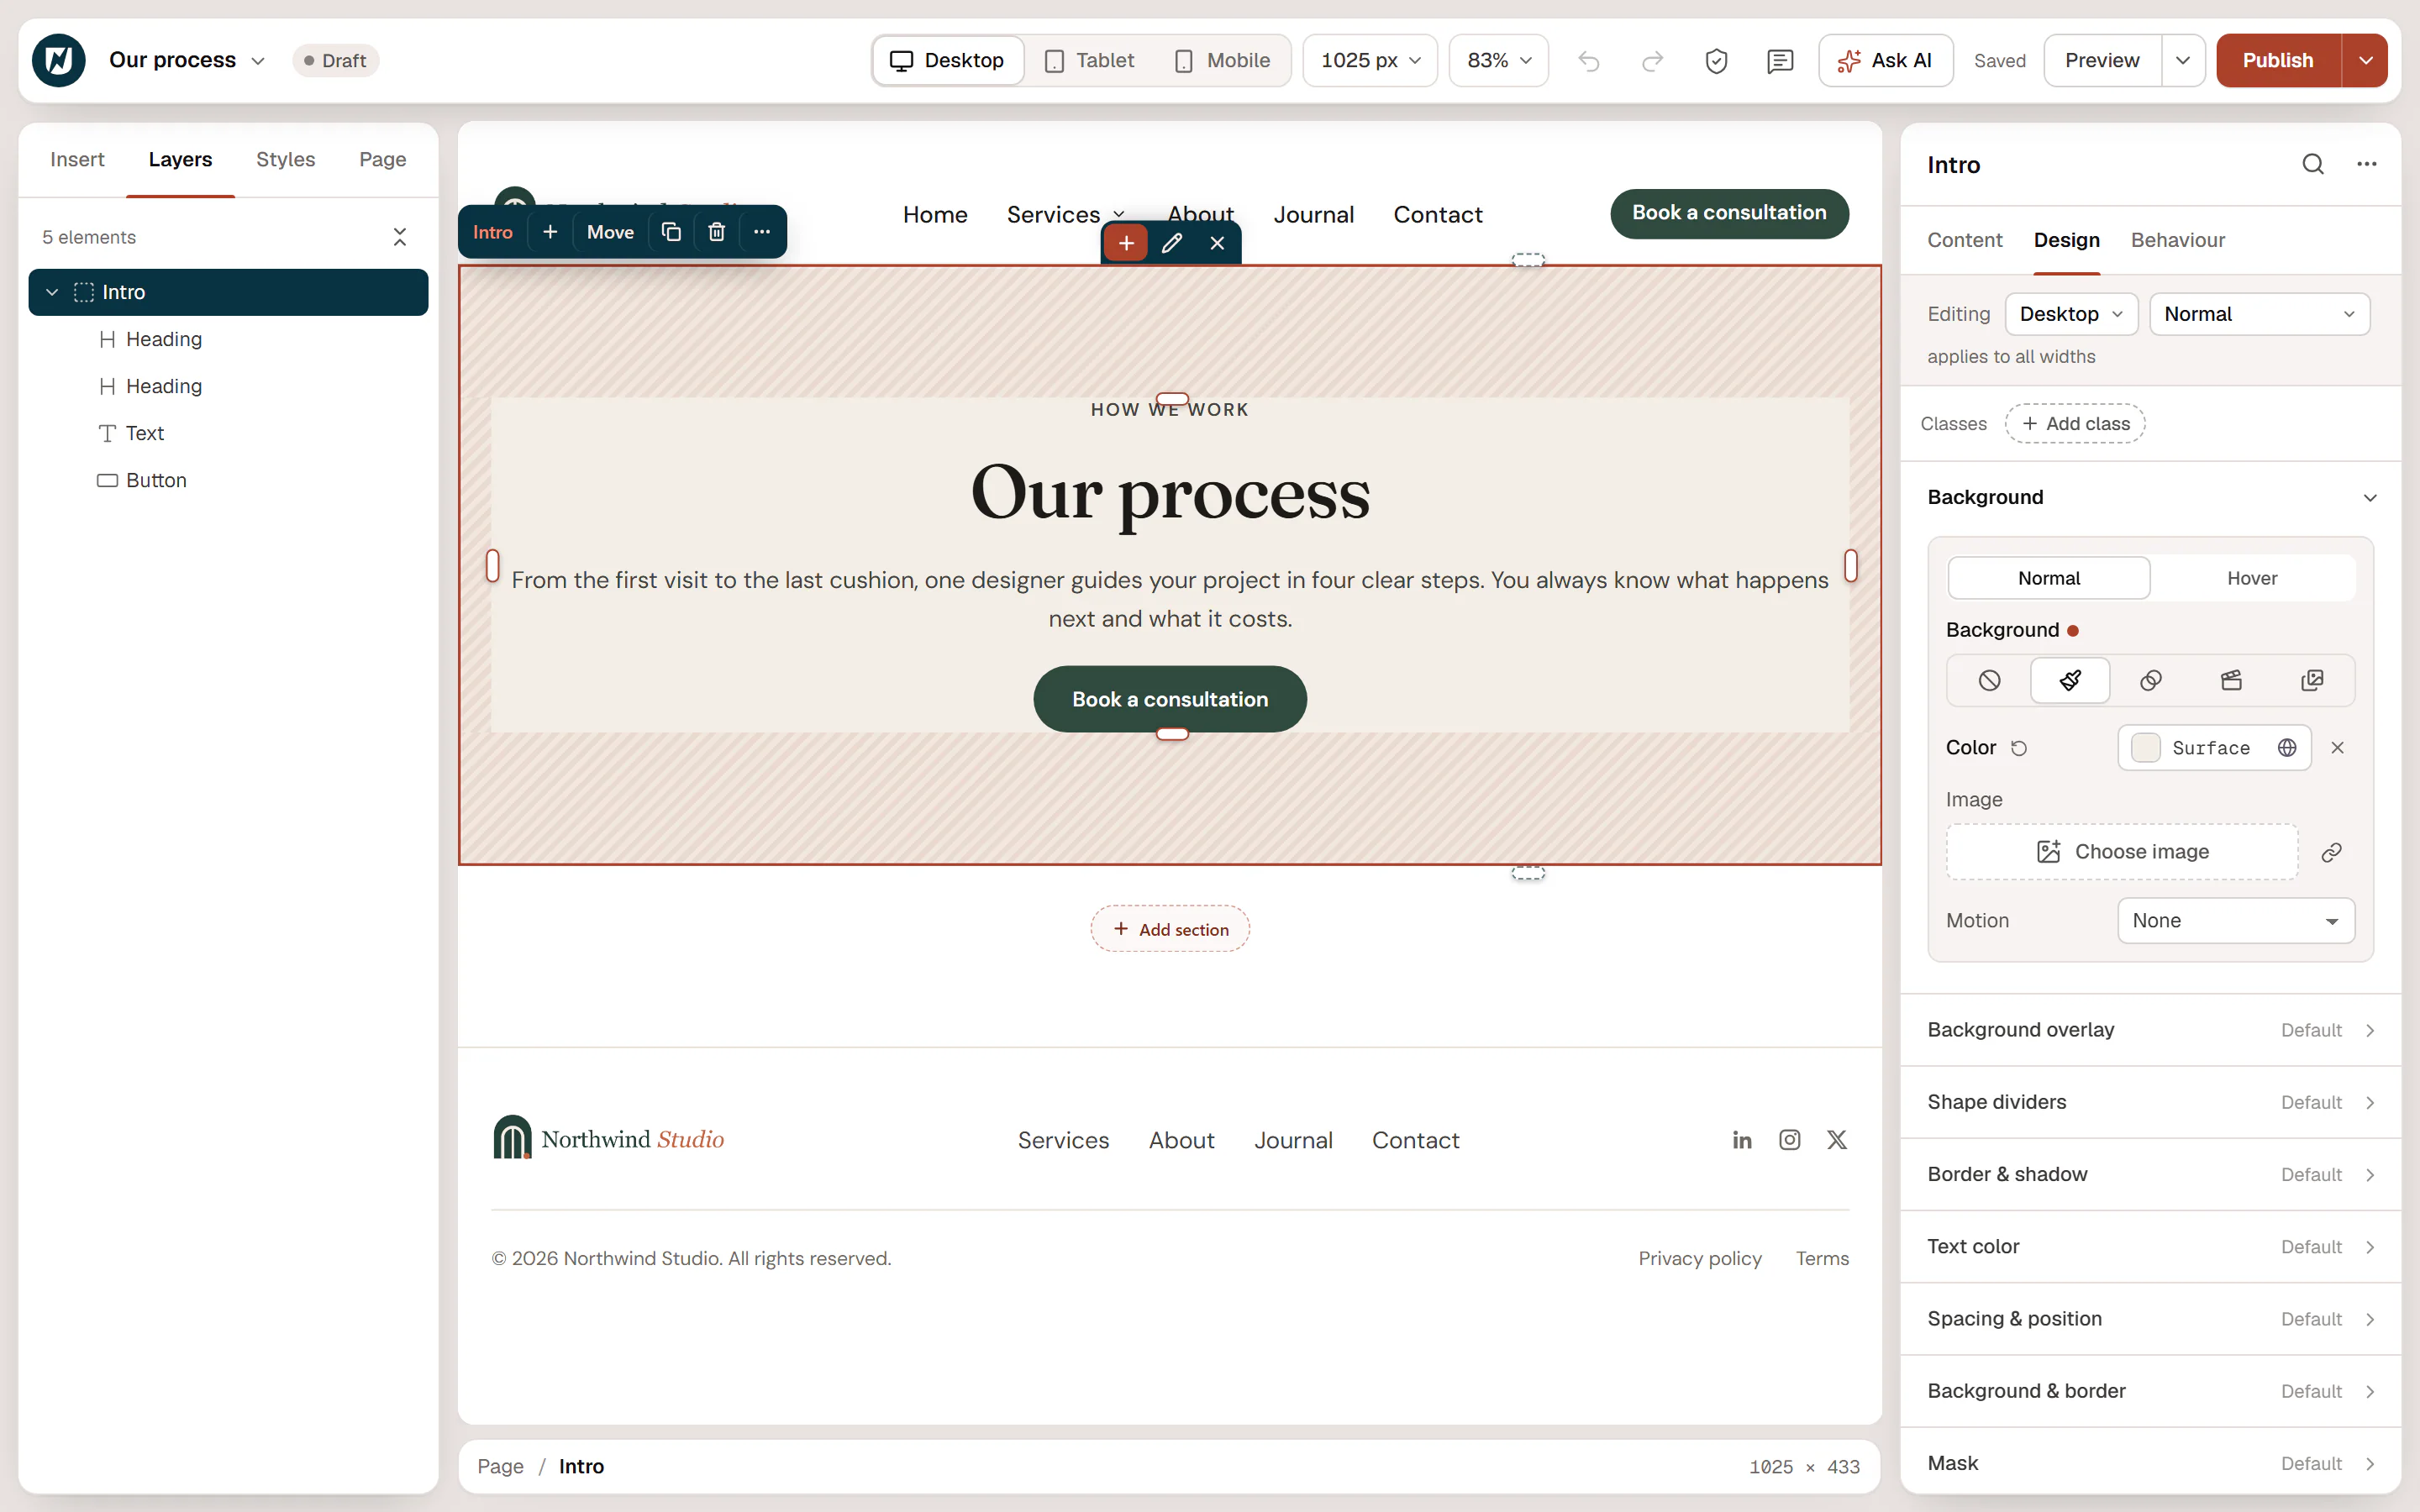
Select the section: click Parent on the heading's toolbar, or press Esc. In the Content tab, under Layout, set Align items to Center. Select the heading and the text and set their Alignment to center.
Give the section a background
With the section selected, open the Design tab. Under Background, choose Classic (the brush icon) and click Color. Pick Surface from Site colors.
Try a text style
Select the heading, open Design, click the Typography button and click a tile, such as Display, to make the title larger. The tile is a text style from your Design System.
The small label HOW WE WORK above the heading in the screenshots is a second Heading widget, with HTML tag set to P and the Eyebrow text style.
Made a mistake? Press Ctrl+Z to undo. Every change can be undone. See History, revisions & autosave.
6. Check it on a phone
Click Mobile in the top bar. The canvas shows the page 390 px wide, like a phone.
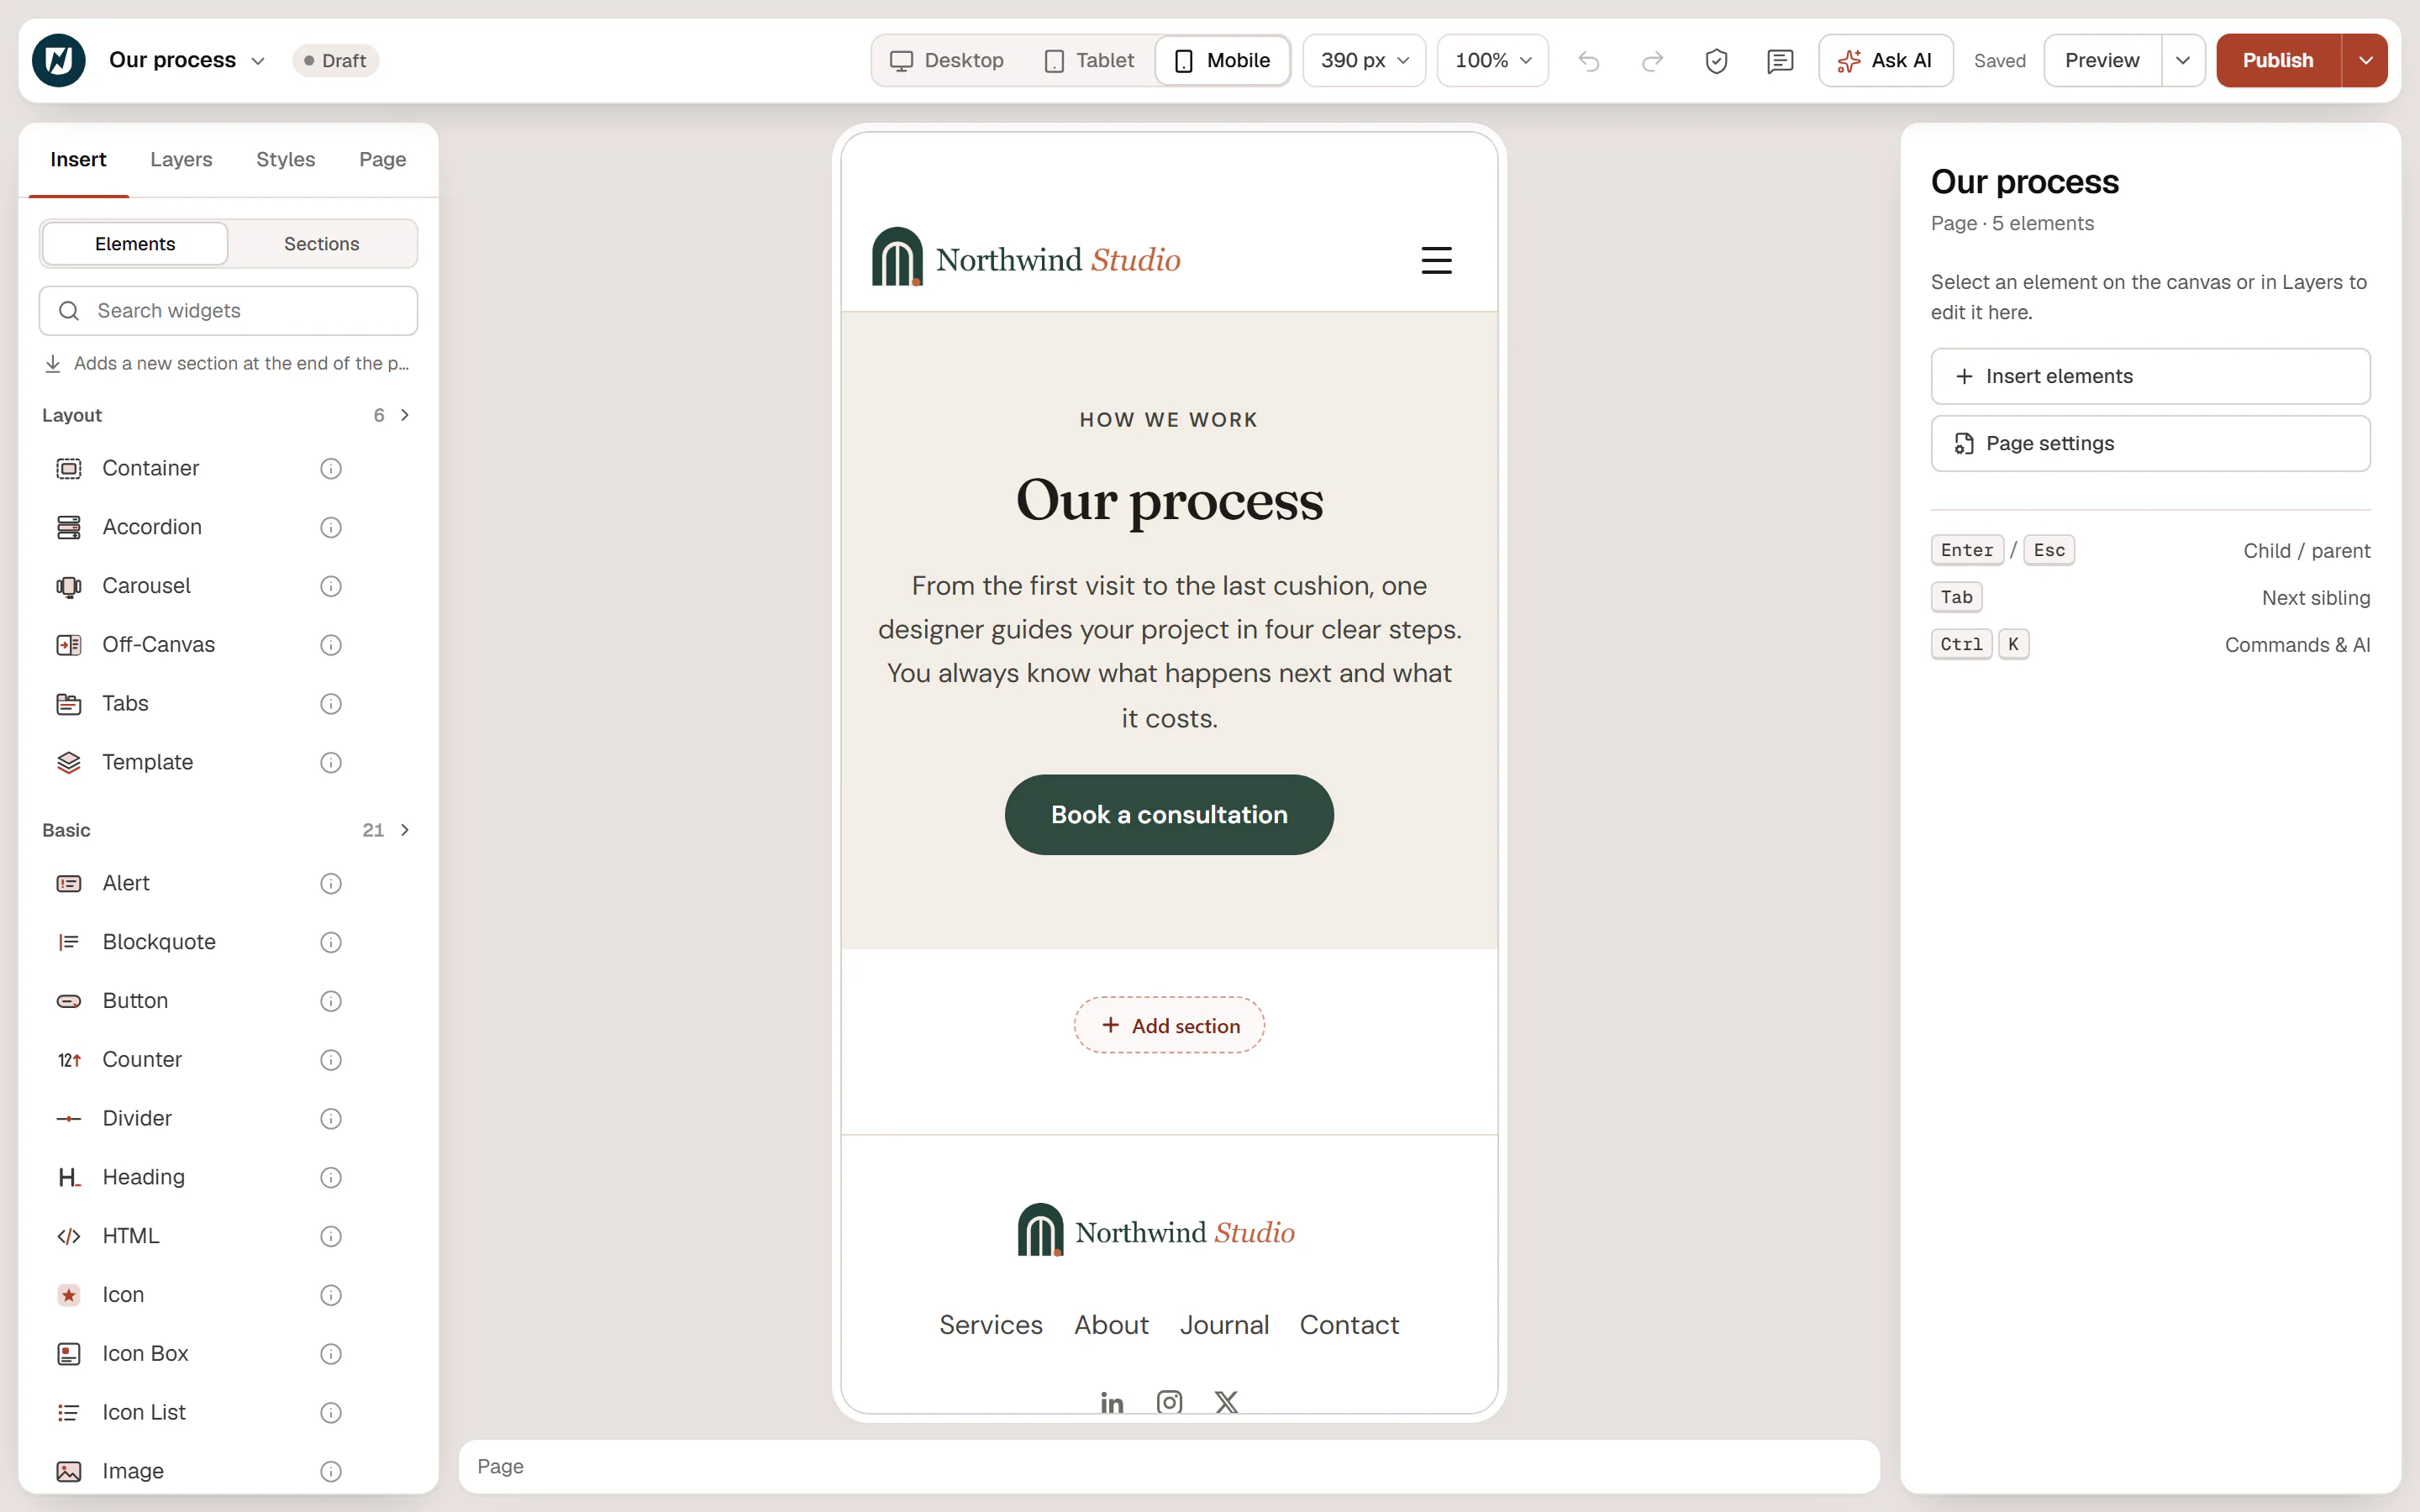
Anything you change now applies to phones only, for example a smaller heading. Click Desktop to go back. See Responsive editing.
To see the page as visitors will, click Preview, or press Ctrl+P to open it in a new tab.
7. Publish
Click Publish in the top-right corner. The page is now live. From now on, the button reads Update: click it whenever you want your changes to go live.
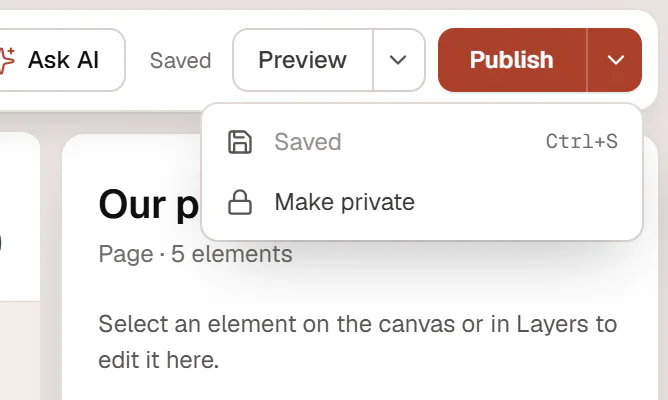
Not ready yet? Press Ctrl+S to save a draft and come back later. To add the page to your site's menu, go to Appearance → Menus in WordPress.
What you learned
- Pages are built from sections (containers) and widgets.
- The Insert panel adds elements, the inspector changes them in its Content, Design and Behaviour tabs.
- The Design System keeps fonts, colors and buttons consistent.
- You design for Desktop first, then adjust Tablet and Mobile.
- Publish puts a page online; Update saves later changes.