Form settings
Set up a CAPTCHA provider, choose how long form submissions are kept, and connect newsletter services for all forms.
The Forms section holds the settings that all your forms share: the CAPTCHA service, how long submissions are kept, and the keys for newsletter services. Each form then decides for itself whether to use them.
Go to Urmi → Settings → Forms.
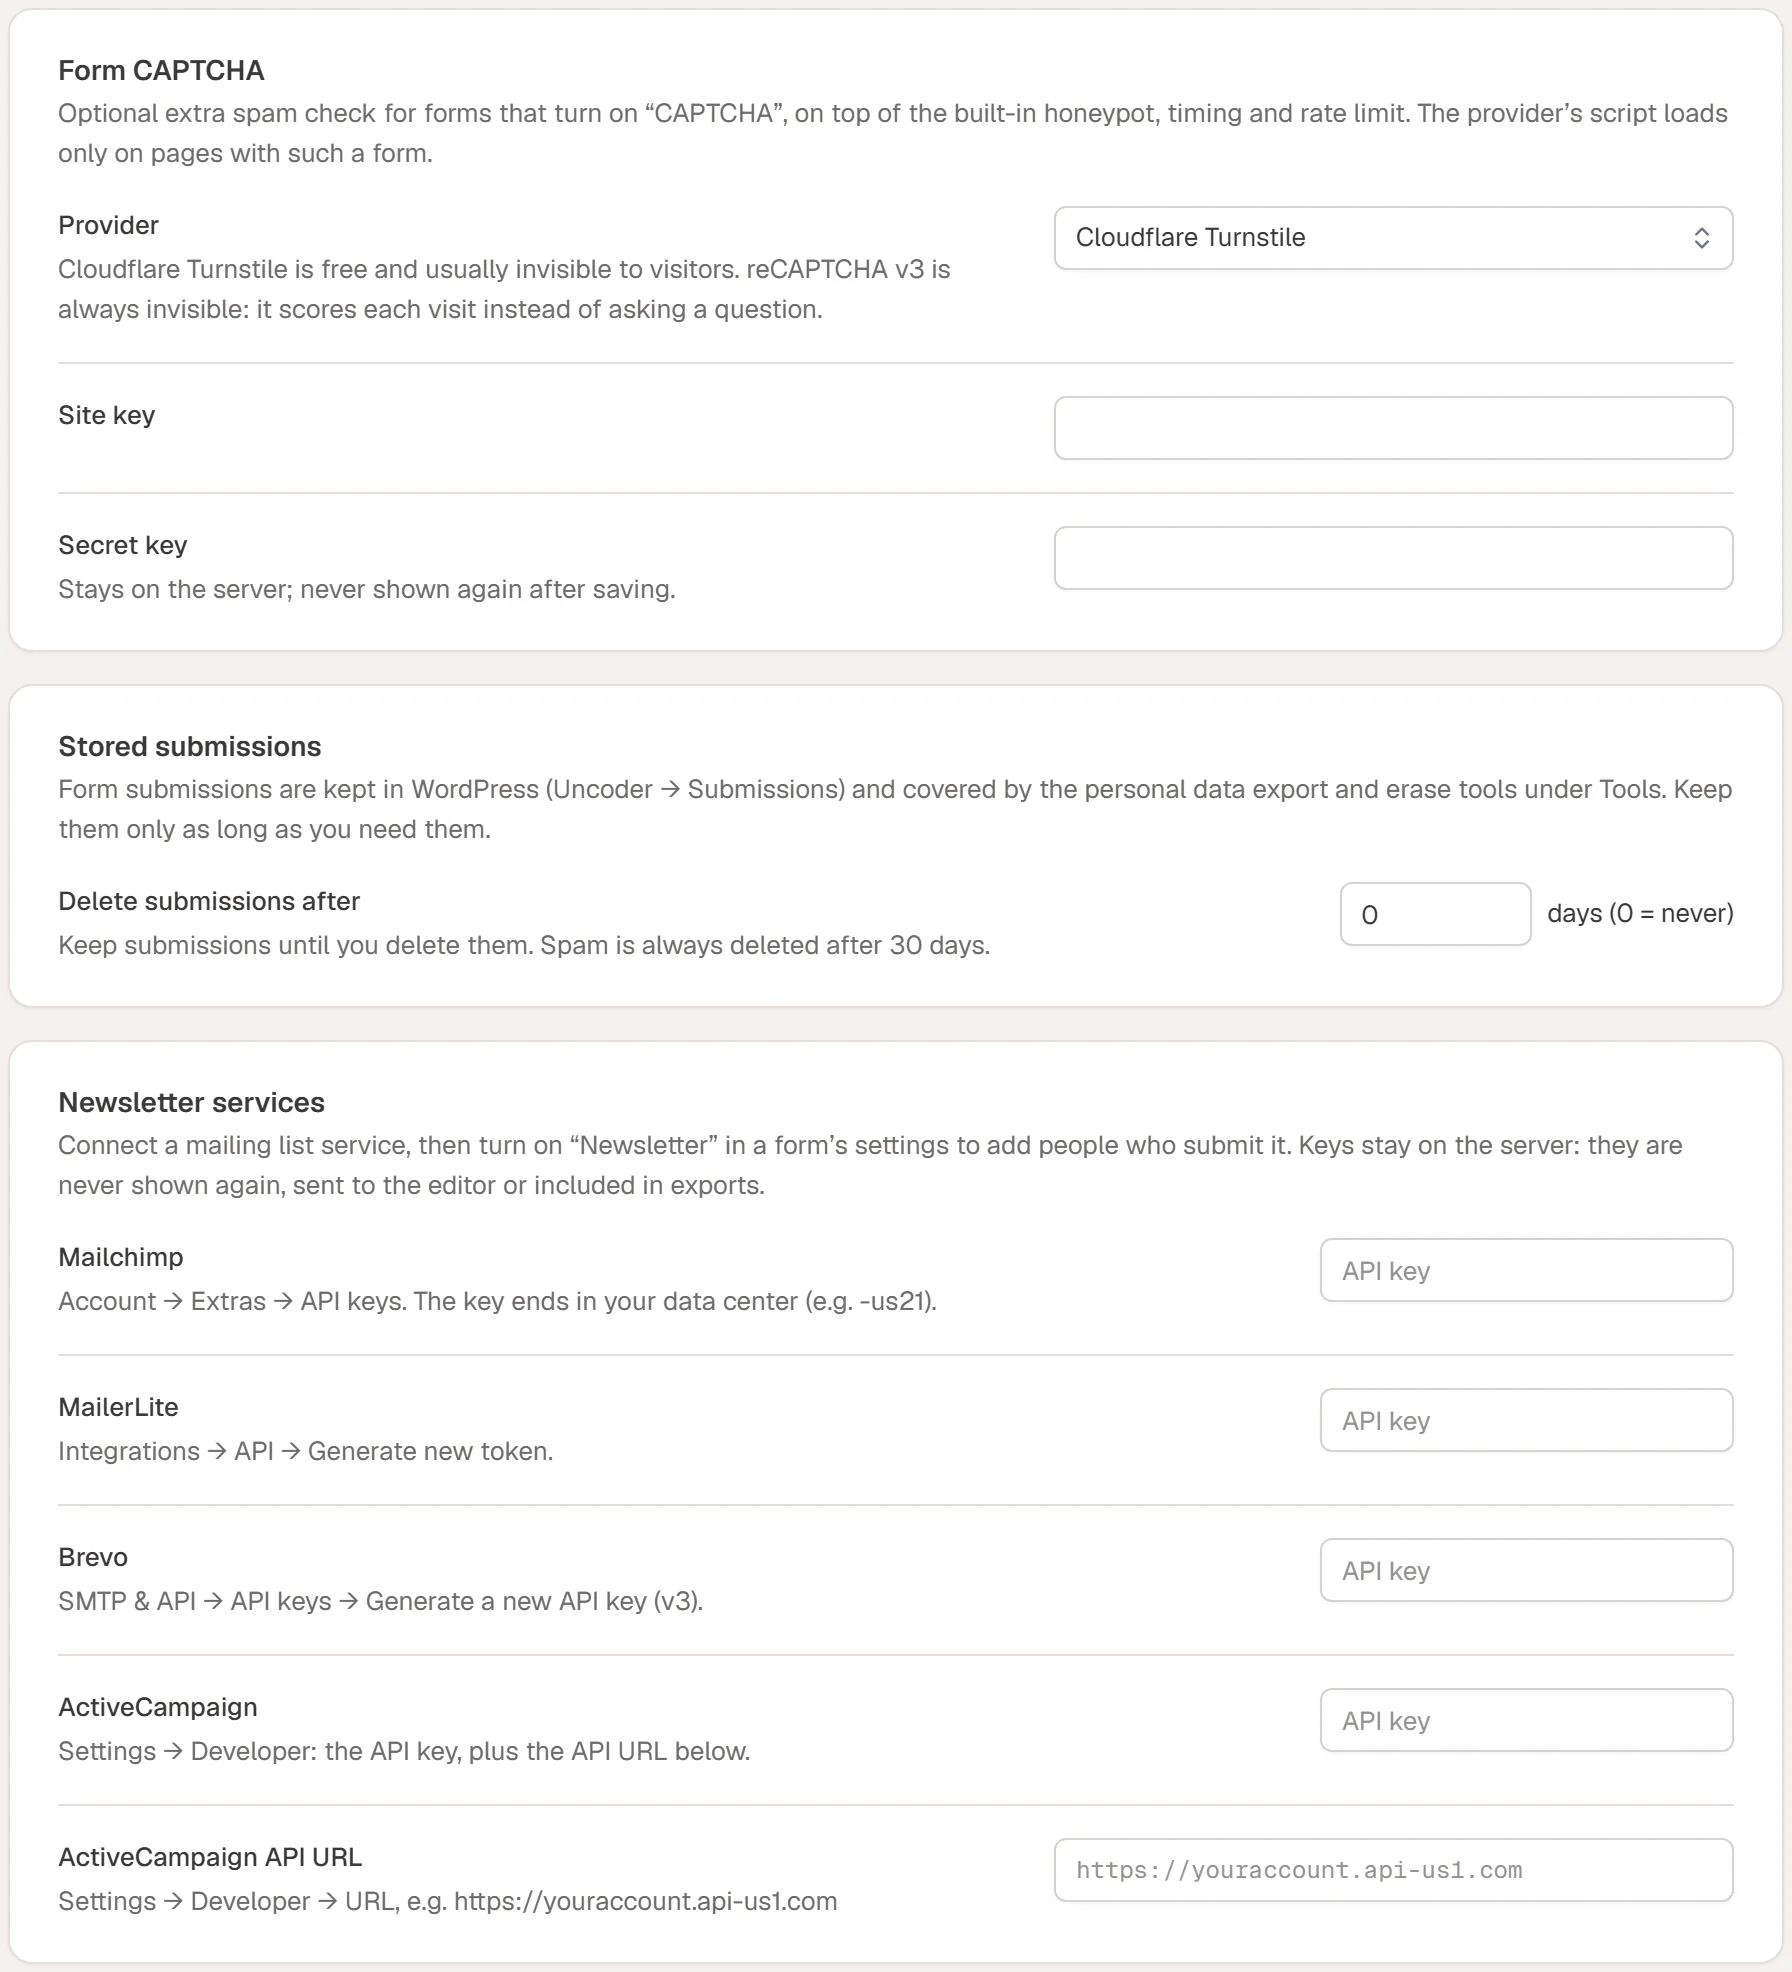
Form CAPTCHA
Every Urmi form already has spam protection that visitors never see: a hidden trap field, a check of how fast the form was filled in, and a limit on how many times it can be sent per minute. A CAPTCHA is an extra check for forms that still get spam. See Spam protection.
| Setting | What it does |
|---|---|
| Provider | Off, Cloudflare Turnstile, hCaptcha, Google reCAPTCHA v2 (checkbox) or Google reCAPTCHA v3 (invisible). |
| Site key | The public key from the provider's dashboard. |
| Secret key | The private key from the provider. It stays on your server and is never shown again after saving. Once saved, leave the field empty to keep it. |
| Minimum score | Only for reCAPTCHA v3. Visits scoring below this are rejected, from 0.1 (lets almost everyone through) to 0.9 (strict). Google suggests 0.5. |
Which provider to pick:
- Cloudflare Turnstile is free and usually invisible to visitors.
- hCaptcha and reCAPTCHA v2 may ask visitors to tick a box or solve a puzzle.
- reCAPTCHA v3 is always invisible: it scores each visit instead of asking a question.
Use it in a form
Get keys from the provider
Create a site in the provider's dashboard for your domain and copy the site key and the secret key.
Save them in Urmi
Choose the Provider, paste both keys and click Save changes.
Turn on CAPTCHA in the form
Open the page with the form in the editor, select the Form widget and, in its Spam protection section, turn on CAPTCHA. The switch works with every provider. Update the page.
The provider's script loads only on pages that contain a form with CAPTCHA turned on.
Stored submissions
Form submissions are saved in WordPress and listed under Urmi → Submissions.
| Setting | What it does |
|---|---|
| Delete submissions after | Deletes submissions, and the files uploaded with them, once they are older than this many days. The check runs once a day. 0 means keep them until you delete them yourself (the default). |
Spam is always deleted after 30 days, whatever you set here.
Submissions are included in WordPress's own privacy tools under Tools → Export Personal Data and Tools → Erase Personal Data, so you can answer a visitor who asks for their data or wants it removed. Keep submissions only as long as you need them. See Forms privacy.
Newsletter services
Connect a mailing list service once here. Then turn on Add to a mailing list in the Newsletter section of any form to add the people who submit it to a list. See Newsletter signups.
| Service | Where to find the key |
|---|---|
| Mailchimp | Account → Extras → API keys. The key ends in your data center, for example -us21. |
| MailerLite | Integrations → API → Generate new token. |
| Brevo | SMTP & API → API keys → Generate a new API key (v3). |
| ActiveCampaign | Settings → Developer: the API key, plus the ActiveCampaign API URL (for example https://youraccount.api-us1.com) in the field below. |
Paste the key into the service's field and click Save changes. Once a key is saved, the field shows •••••••• saved and the text Connected.
- Replace a key: paste the new key and save.
- Remove a key: click Disconnect, then Save changes. Changed your mind before saving? Click Keep.
Keys stay on your server. They are never shown again, never sent to the editor and never included in exports or site kits.
Slack and Discord notifications do not need a key here. You paste their webhook address into each form's settings. See Actions after submit.