Installation & requirements
Install and activate Urmi, check the requirements, and open the editor for the first time.
On this page
Urmi is a regular WordPress plugin. You install it once, and it works with the theme you already use.
Requirements
| Requirement | Minimum |
|---|---|
| WordPress | 6.6 or newer |
| PHP | 8.0 or newer |
| Browser for editing | A current version of Chrome, Edge, Firefox or Safari, in a window at least 1024 px wide |
| User role | Administrator to install; see Roles & access for other roles |
Urmi works with any theme. Its pages use the theme's header and footer until you build your own in the Theme Builder.
If your server runs a PHP version older than 8.0, WordPress shows the message Urmi requires PHP 8.0 or newer and the plugin stays inactive. Ask your host to update PHP, then reload the page.
To connect an AI assistant such as Claude or ChatGPT, your site must also be reachable from the internet over HTTPS. A site on your own computer can still connect to desktop AI apps with an API key. See AI & MCP.
Install the plugin
Open Add New Plugin
In your WordPress dashboard, go to Plugins → Add New Plugin.
Find Urmi
Type Urmi in the search field. When Urmi – AI-Powered Website Builder appears, click Install Now.
Have the plugin as a zip file instead? Click Upload Plugin at the top of the screen, choose the file (keep it zipped) and click Install Now.
Activate it
When the installation finishes, click Activate. Urmi appears in the plugin list with two quick links: Dashboard and Connect AI.
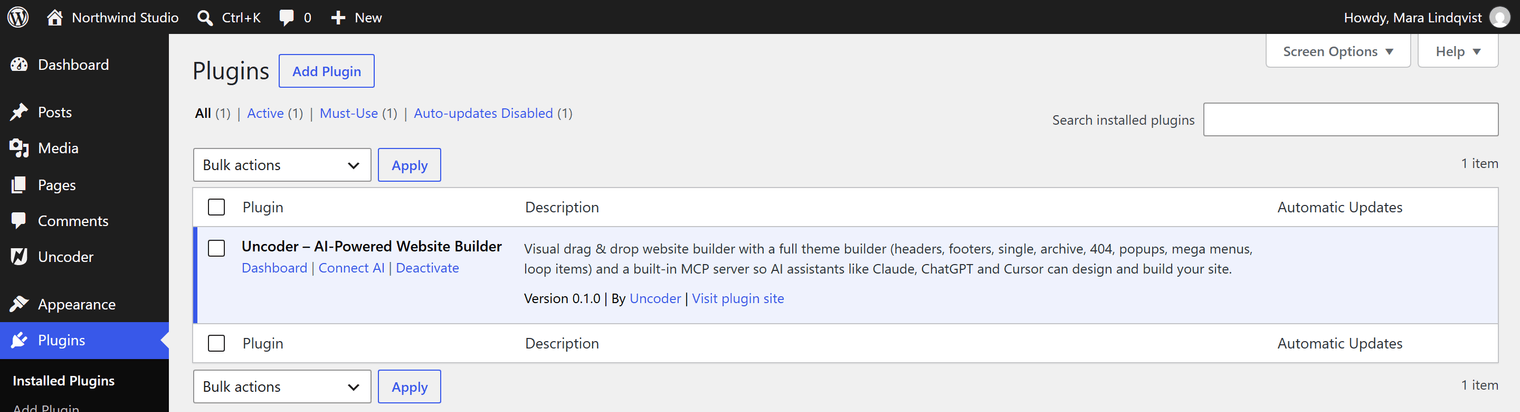
Urmi in the Plugins list after activation.
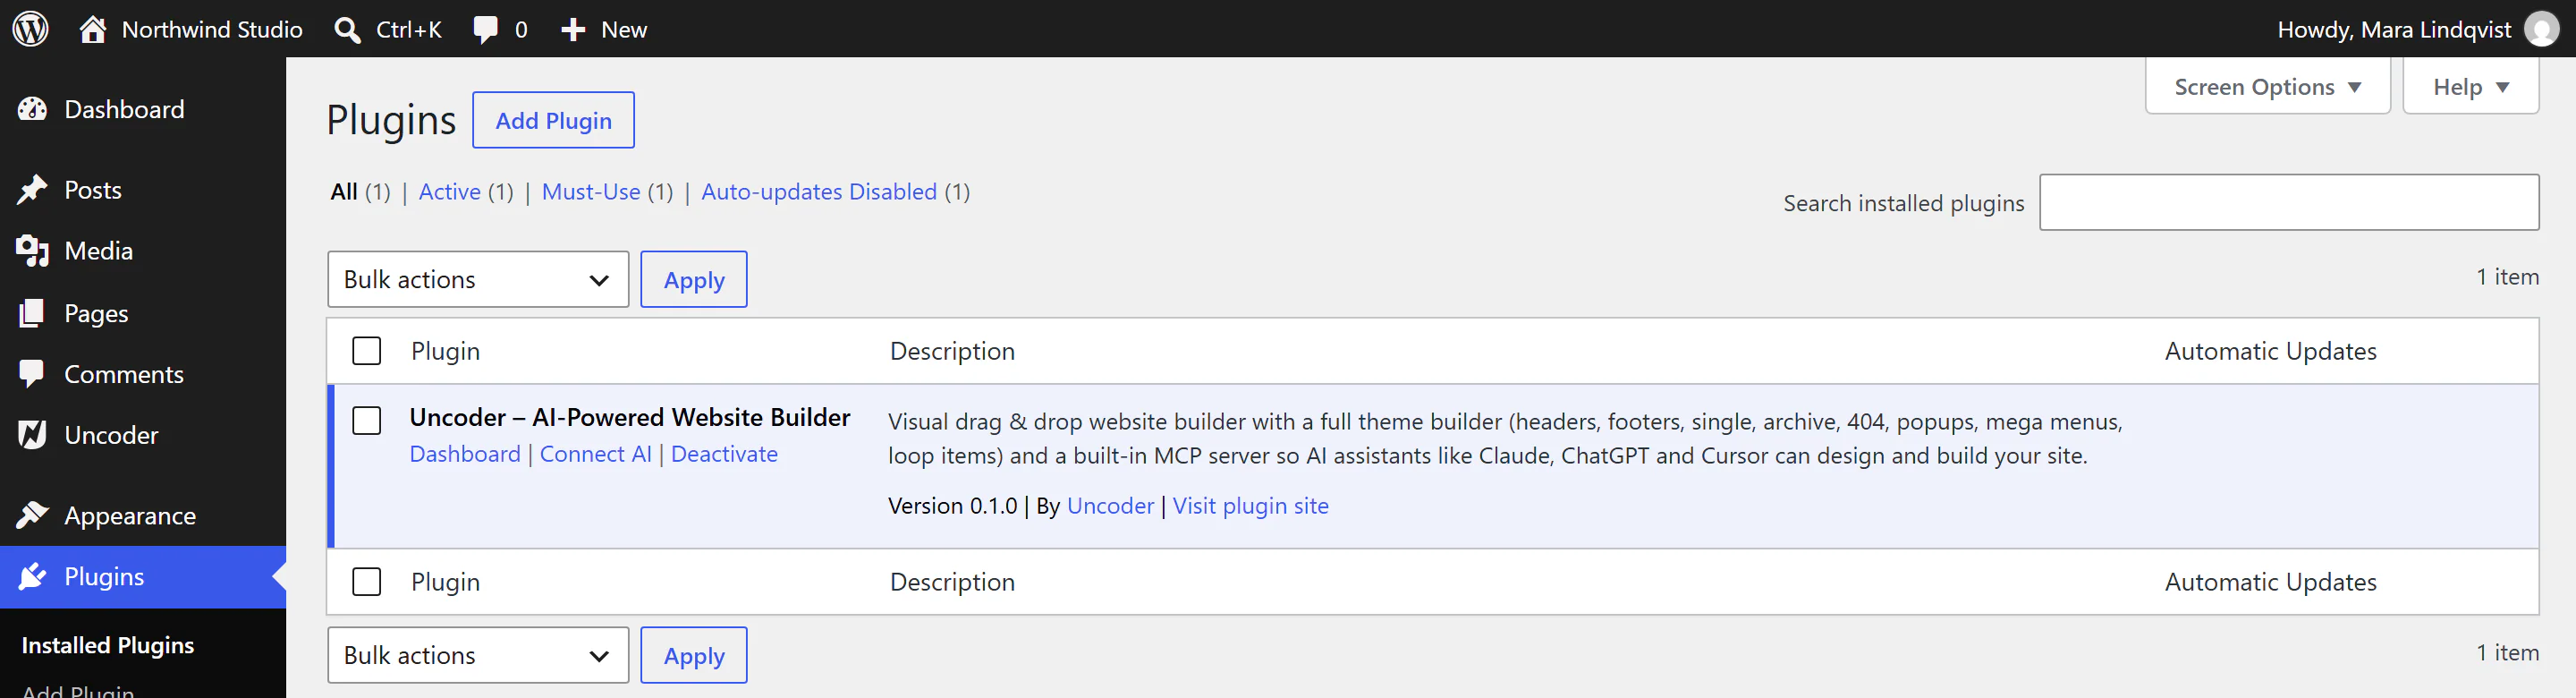
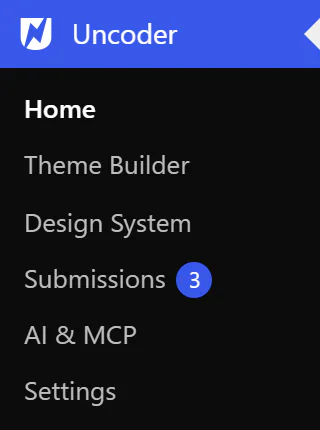
Urmi adds an Urmi menu to the WordPress sidebar. It holds every Urmi screen:
| Menu item | What you do there |
|---|---|
| Home | Create pages, import a starter site, see recent pages and your setup progress. |
| Theme Builder | Build headers, footers, page layouts, popups, mega menus and reusable sections. |
| Design System | Review your colors, fonts and buttons, and upload custom fonts and icons. |
| Submissions | Read the messages people send through your forms. |
| AI & MCP | Connect AI assistants, manage API keys and review AI activity. |
| Settings | Site-wide options such as roles, cookie consent, forms and tools. |
Some items only show for administrators. Editors, for example, see Home, Theme Builder and Submissions.
Open the editor for the first time
You can start the editor from three places.
From the Urmi home screen
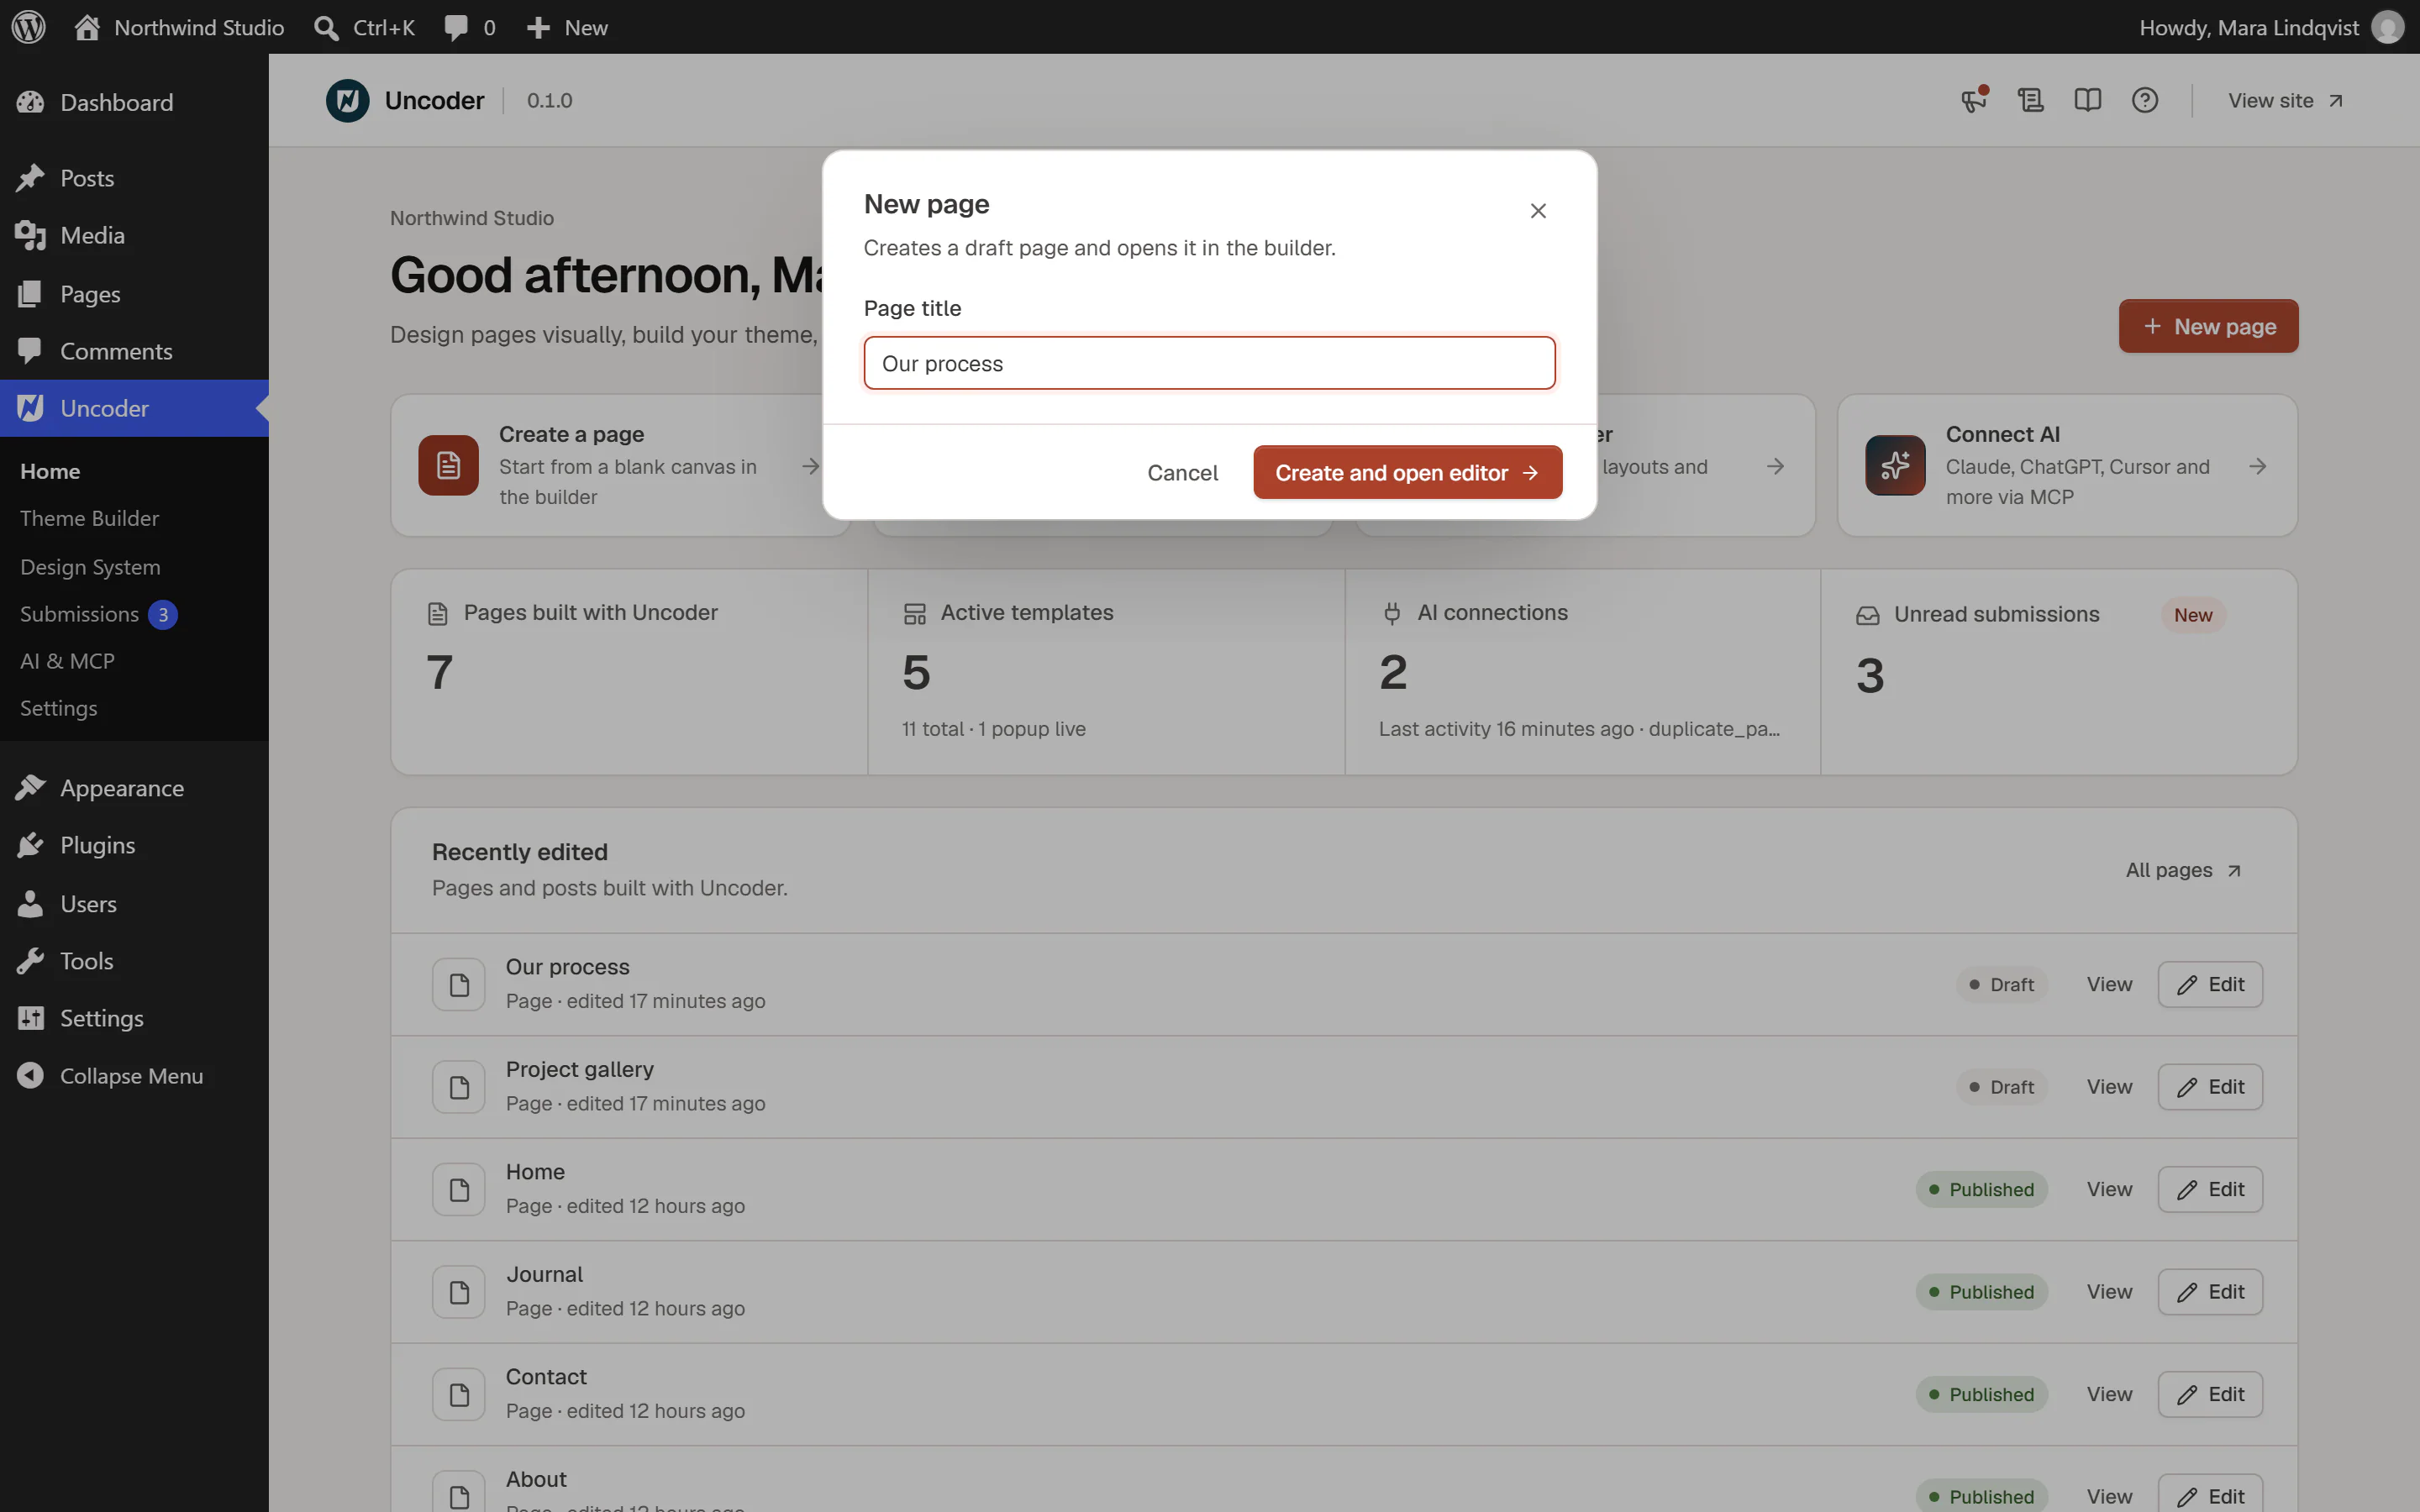
- Go to Urmi → Home.
- Click New page.
- Type a Page title and click Create and open editor.
From the Pages list
- Go to Pages in the WordPress sidebar.
- Hover over a page and click Edit with Urmi.
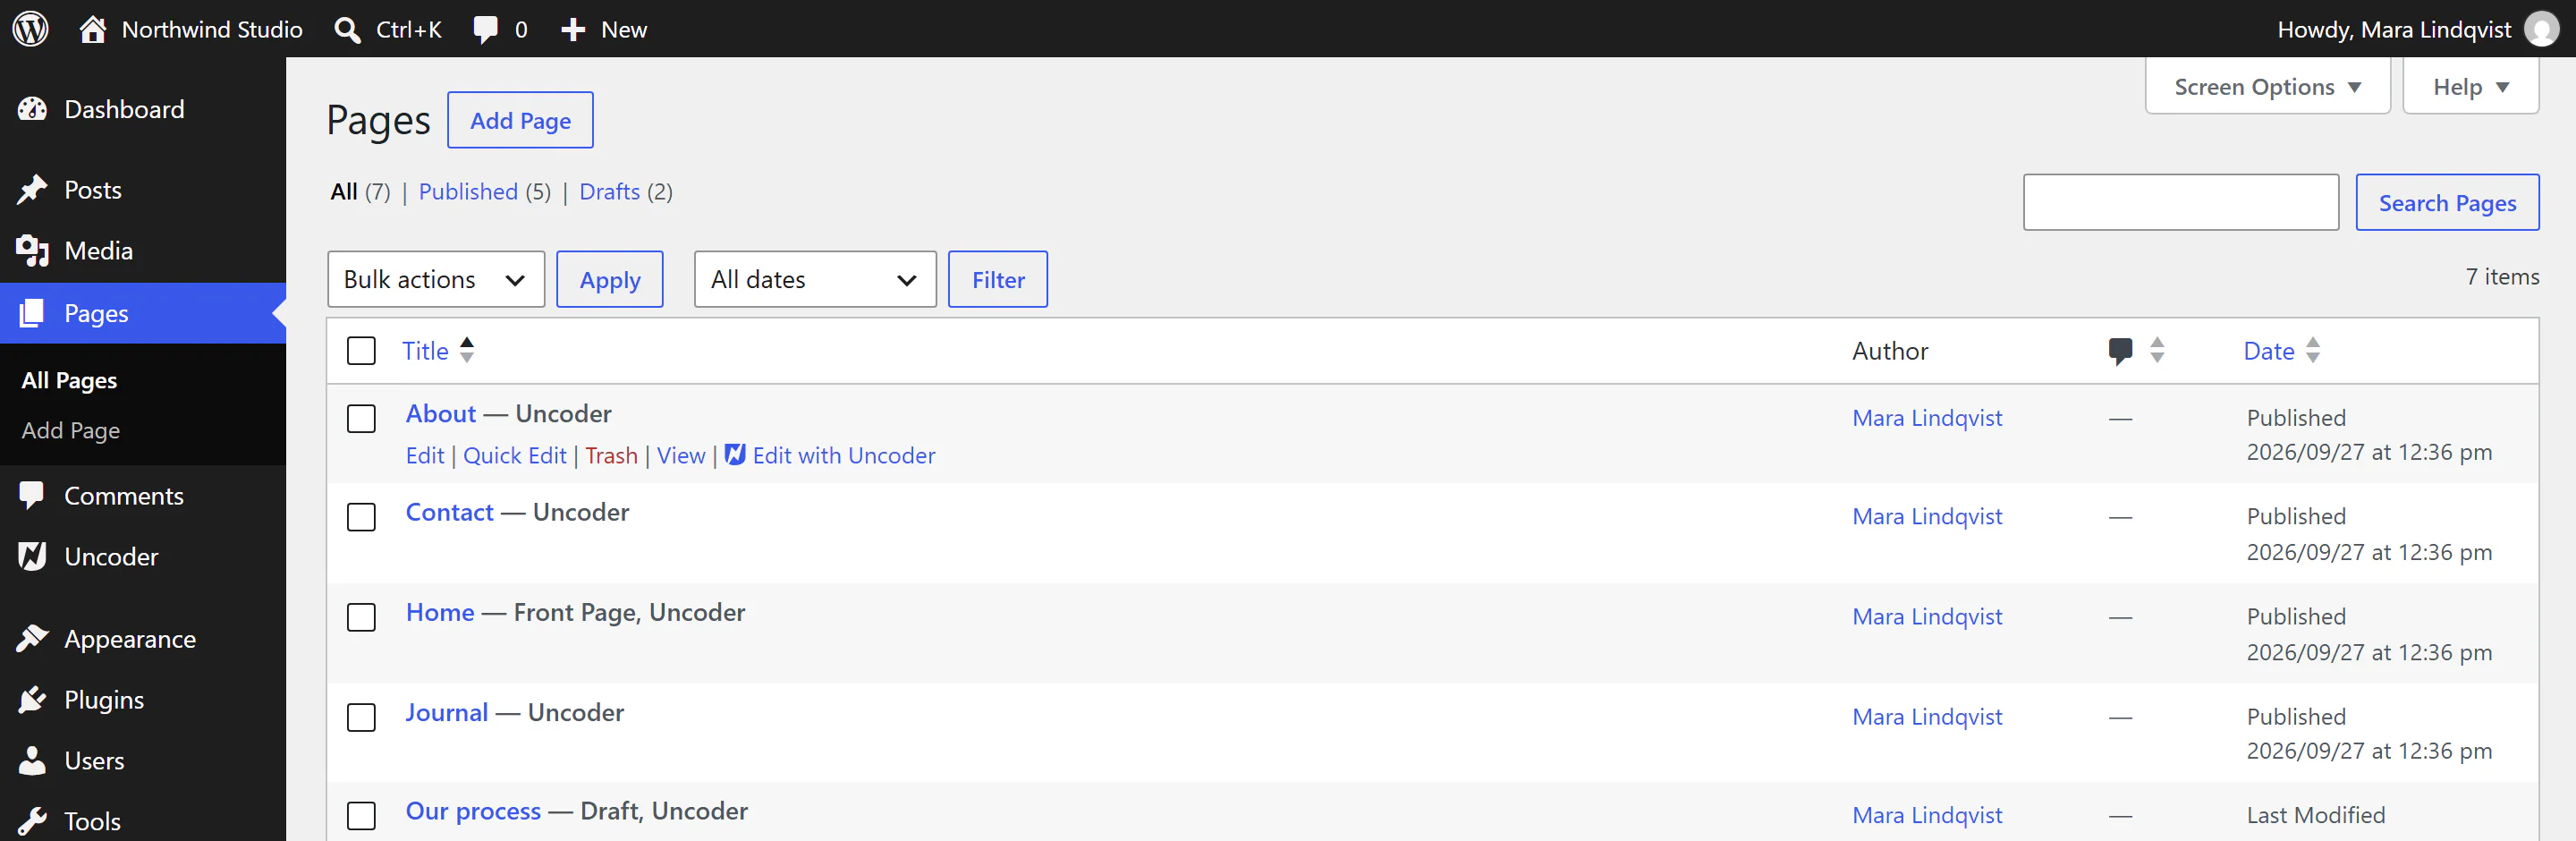
From the site itself
- Open any page of your site while you are logged in.
- Click Edit with Urmi in the black WordPress toolbar at the top.
The editor opens in a full-screen window. Your page appears in the middle, exactly as visitors will see it. To go back to WordPress, open the menu with the Urmi logo in the top-left corner and choose Exit to WordPress.
Want a head start? A starter site adds a color palette, fonts, a header, a footer and five pages in one step. Everything arrives as a draft, so nothing changes on your live site until you publish.
Choose which content types use Urmi
By default you can build Pages and Posts with Urmi. To add or remove content types, go to Urmi → Settings → General and change Post types under Builder. See General settings.
Update Urmi
Updates work like any other plugin: go to Plugins and click update now when a new version is available. Your pages, templates and settings are kept.
If an update causes a problem, you can go back to an earlier version with Version rollback.
Remove Urmi
Deactivating Urmi keeps all your data. While the plugin is inactive, pages built with Urmi show a plain version of their text and images, without the design. The design comes back as soon as you activate Urmi again.
When you delete the plugin, your designs, templates and settings are kept unless you turn on Remove all data on uninstall in Urmi → Settings → Advanced first. Your pages themselves are never deleted. See Advanced settings.