Before / After
Compare two images with a draggable divider.
The Before / After widget lays two images on top of each other with a divider that visitors drag to compare them. It is ideal for renovations, restorations, retouching or any change you want to show. The divider works with the mouse, touch and the keyboard.
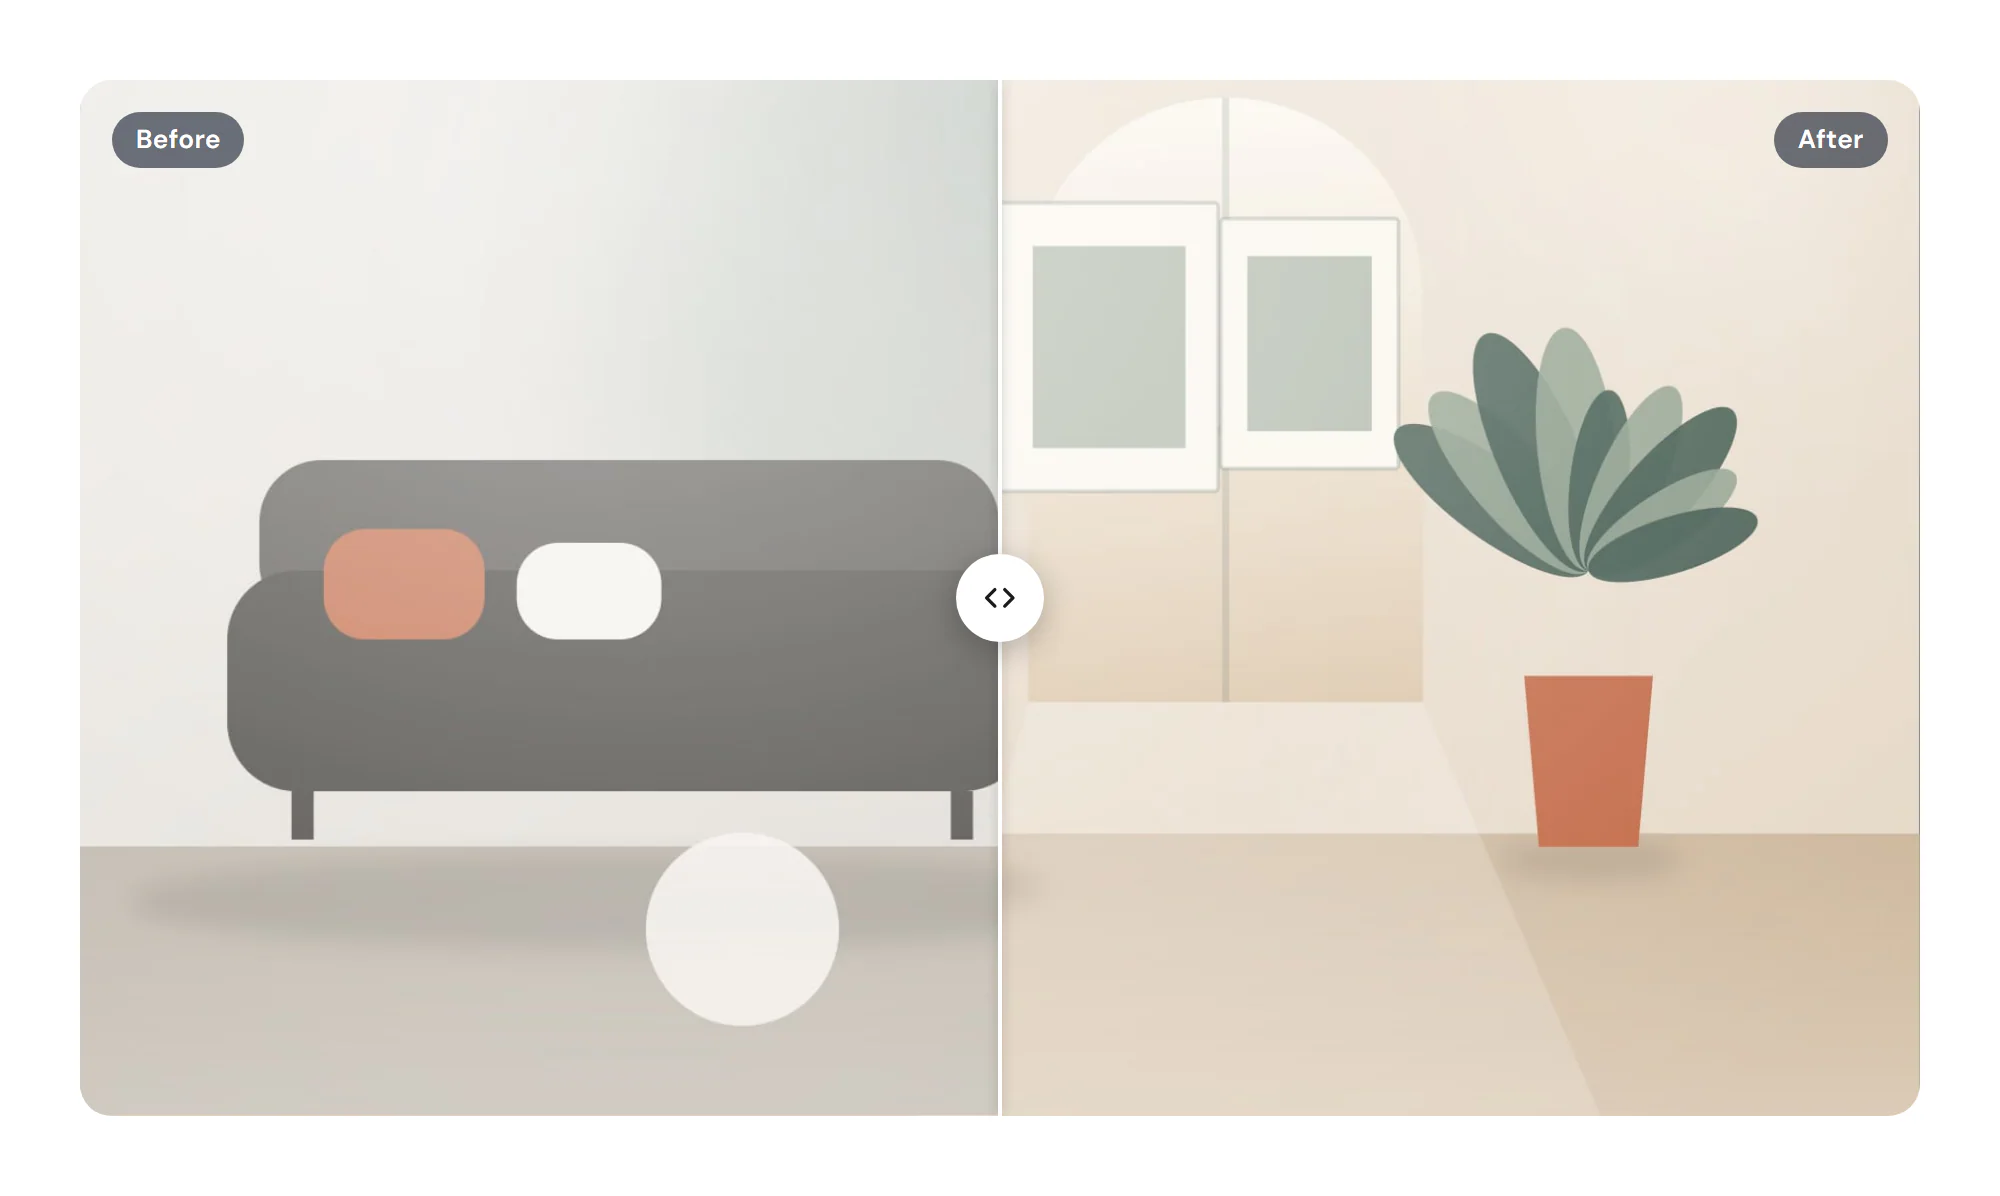
Add a before / after comparison
Insert it
Open Insert in the left panel, find Before / After under Media (or type
beforein Search widgets) and click it or drag it onto the canvas.Choose the two images
Pick the Before image and the After image in Content → Images. Use two photos with the same size and framing.
Label and position
Change the Before label and After label if you like, choose when to Show labels, and set the Initial position of the divider.
Pick the direction
Keep Horizontal to drag left and right, or choose Vertical to drag up and down.
Settings
Settings marked Per device can differ on desktop, tablet and mobile (see Responsive editing). Both images support dynamic tags (see Dynamic tags).
Content tab
| Setting | What it does |
|---|---|
| Before image | The “before” image, shown on the left (or top). Supports dynamic tags. |
| After image | The “after” image, shown on the right (or bottom). Use images with the same size and framing. Supports dynamic tags. |
| Resolution | The image size WordPress serves. Smaller files load faster; pick one at least as wide as the image is shown. Default: Large. |
| Before label | Label on the before image. |
| After label | Label on the after image. |
| Show labels | Shows the labels always, only when the pointer is over the images, or never. Options: Always, On hover, Never. Default: Always. |
| Labels position | Where the labels sit along the edge. Options: Start, Center, End. Default: Start. Shown when Show labels is set. |
| Orientation | Horizontal drags the divider left and right; Vertical drags it up and down. Options: Horizontal, Vertical. Default: Horizontal. |
| Initial position | Where the divider starts, in %. Default: 50%. |
| Follow the mouse | The divider follows the pointer without clicking. |
| Handle icon | Icon on the divider handle. |
| Aspect ratio | Crops both images to a fixed shape. Original keeps the images’ own shape. Per device. |
Design tab
| Setting | What it does |
|---|---|
| Border radius | Rounds the corners of the images. Per device. |
| Border | Border around the images. |
| Shadow | Shadow of the images. |
| Setting | What it does |
|---|---|
| Line color | Color of the divider line. |
| Line width | Thickness of the divider line. |
| Handle size | Size of the handle. Per device. |
| Handle background | Background color of the handle. |
| Handle icon color | Color of the handle icon. |
| Handle radius | Rounds the handle; 50% makes it a circle. Per device. |
| Handle border | Border of the handle. |
| Handle shadow | Shadow of the handle. |
This section shows when Show labels is set.
| Setting | What it does |
|---|---|
| Typography | Text style or font, size, weight and spacing of the labels. |
| Color | Text color of the labels. |
| Background | Background color of the labels. |
| Padding | Space inside the labels. Per device. |
| Border radius | Rounds the corners of the labels. Per device. |
| Distance from edge | Distance of the labels from the edge of the images. |
Every element also has these sections at the end of the Design tab.
| Section | What it does |
|---|---|
| Spacing & position | Margin, padding, width, alignment in its container, order, position (relative, absolute, fixed), offsets, z-index and global classes. See Spacing, size & position. |
| Background & border | Background, border, border radius, box shadow, overflow and opacity of the whole element. See Colors & backgrounds and Borders & shadows. |
| Mask | Crops the element to a shape (circle, arch, blob, star…) or your own SVG or PNG. See Shape dividers & masks. |
Behaviour tab
The Behaviour tab is the same for every element.
| Section | What it does |
|---|---|
| Anchor & classes | An Anchor ID for #links and your own CSS classes. |
| Animations | Entrance, scroll, hover and loop animations from presets or your own timeline. See Motion & effects. |
| Motion & effects | A simple entrance animation, transforms (also on hover), CSS and backdrop filters, and sticky positioning. |
| Scroll & mouse effects | Movement, rotation, scale, fade and blur while the page scrolls, and pointer effects (follow the pointer, 3D tilt). |
| Visibility | Hide the element on desktop, tablet or mobile, or in dark or light mode. See Visibility. |
| Conditions | Show the element only when rules match, such as logged-in visitors, a date range or a URL parameter. See Display conditions. |
| Interactions | Show, hide or change other elements when this one is clicked, hovered or scrolled into view. See Interactions. |
| Attributes | Custom HTML attributes for this element. See Anchor, classes & attributes. |
Tips
- Match the photos. Shoot both images from the same spot, or crop them to the same size; otherwise the comparison jumps. Aspect ratio crops both to the same shape.
- Keyboard and screen readers. The divider is also a slider that keyboard users move with the arrow keys; the labels name the two images.
- Follow the mouse. Follow the mouse moves the divider without clicking, which suits large desktop layouts; on touch screens visitors still drag.